Passion [pash-uh n] – noun. Any powerful or compelling emotion or feeling.
That’s the definition of passion. In our world of tires and wheels, are you passionate about cars and trucks, or are they just utilitarian to you?
If you view them in the former sense, you will appreciate and understand what we are going to cover in this month’s and next month’s articles. If you view them in the latter sense, I invite you to take note as we go through the process of building an award-winning ride that’s worthy of media coverage.
This project started out with a phone call inquiring about building wheels for a 1935 Chevy 3-Window coupe. The owner, Larry, informed me that he was referred to me by another tire shop that knows I specialize in difficult applications. Over the phone, I began building a rapport with Larry by asking some specific questions. The process needed to create something based on someone else’s dream or vague concept starts with questions like these:
1. What look do you want to achieve with the look of the car? Some options are:
- Original
- Early nostalgia with whitewalls
- Gasser style with the nose high
- Pro street
- Pro touring
- Low rider
2. What type of wheels do you want?
- Steel
- Wire
- Cast aluminum
- Billet aluminum
- Forged aluminum/magnesium
- Carbon fiber
3. What type of finish do you want?
- Polished
- Painted
- Color matched
- Brushed
- Chrome plated
4. What size rim diameter do you want?
5. What is the target budget range for the build?
6. Do you want to achieve aggressive handling with UHP tires or maintain more of a touring setup that offers better ride comfort while accomplishing the overall objective of the build?
7. What other cars have you seen that appeal to you?
From this list, I usually get a pretty good idea of where to start with my research. I begin with a three-ring binder full of almost every major tire brand available. I also have boxes – literally – of wheel catalogs spanning local suppliers to little known job-shop companies that specialize in one-off creations.
After determining the vision that Larry had for the car, we met to discuss some of the options and styles of wheels, along with tires and tread patterns, to begin filtering down to a short list of options.
When the first meeting occurred, here is how the vehicle looked.
Real Original
This is an original-survivor steel body Chevy. It is very rare, since most surviving cars from the 1930s are Fords due to the vast numbers produced. Like most vehicles of this caliber, it is riding on a modern suspension. This one is sitting on a Heidt’s adjustable coil-over IFS and four-link adjustable coil-over rear with a 9-inch differential. As I began my inspection of the suspension, I realized that the front suspension was set at the lowest ride height available.
When I pointed this out, Larry mentioned that he wanted to pick the car up some for better ground clearance. I recorded the current tire sizes, which were 195/70R14 front and 255/60R15 rear. Anytime that you work on a project like this, take note of everything. With the front wheel off, I noticed the car had Wilwood disc brakes.
I took measurements of the caliper to determine the “X-Factor” – the caliper clearance needed behind the face of the wheel. Starting from the center of the hub, extend a tape measure until you hit the bottom of the caliper. Take note of this number. Next, determine how far out toward the street the caliper extends. Next, measure to the top of the caliper, being mindful of any crowns that may exist due to the manufacturing processes.
At this point, I checked the bolt pattern and took detailed measurements of the hub diameter, in millimeters, using a dial caliber. I also checked the height of the hub. I’ve had situations where everything fit except the grease cap, because it extended out too far and caused interference (a painful and expensive lesson to learn). Sometimes, you can account for this by ordering a thicker mounting pad.
With the wheel off, lay it face down on something soft and measure for the width and backside setting. Replacing the wheel, I checked the clearance by turning the wheels left to right, lock to lock. This gave me initial clues to potential clearance problems. After this was complete, I repeated the process for the opposite side.
Many times, differences in fender clearance, alignment angles, and the range of movement in the steering box can be significantly different from side to side. If I see an area that is extremely close, I make a note so that I don’t install an assembly that only works on one side of the car (another expensive lesson).
Now for the rear: drop a plumb line down from the inner lip of the fender. Measure the distance to the sidewall of the tire, making a note of both sides. I have found that the body can be sitting off-center on the frame, or the rear end is not centered. In either case, I build to fit the critical side, unless the difference can be corrected. Take a measurement of the backside setting, as well.
To get an idea of how much tire I can fit under the car, I measured how much width was available between the frame or suspension and the inner fenderwell. Based on this, I got a good idea of how wide of a tire I can start with for the test fit.
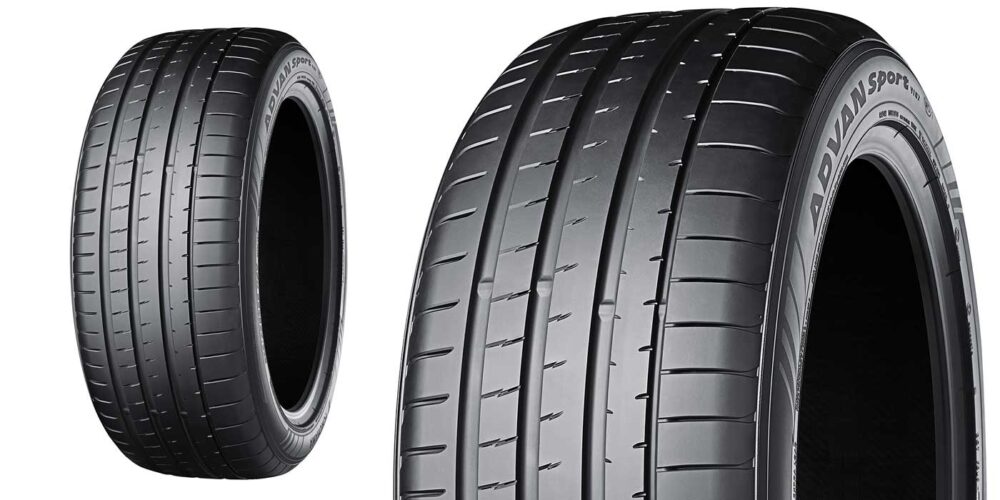
 At this point, I have most of the raw measurements needed to begin the search for a tire and wheel that will fit. Tire treads are like wheel styles, so I show several tread patterns to my clients to get a feel for the style that appeals to them. For this build, Larry chose the BFGoodrich KDW II with the new tread.
To find out how this project ended and to see the complete transformation of Larry’s 1935 Chevy 3-Window coupe, look for next month’s column. I’ll go over the final steps taken to get this classic perfectly customized.
For Part 2, click here.