s even more affordable if you don’t do much engine work.
For more advanced ABS diagnostics, a digital oscilloscope (DSO) or graphing multimeter is a useful tool to own for observing wheel speed sensor outputs as a waveform. Learning how to use a scope properly takes some time, but once you understand it, it can be used to detect all kinds of engine sensor problems that don’t set codes, or are too subtle or occur too quickly to be seen on a scan tool.
Another tool that can come in handy for troubleshooting brake problems is an infrared pyrometer. These pistol-like thermometers measure infrared radiation to reveal surface temperatures. A hot brake is a good indication of brake drag. Uneven heat side-to-side may indicate a frozen or sticking caliper.
Hydraulic Diagnostics
Ever encounter a vehicle with a brake balance problem? Maybe it pulls to one side, or the rear wheels lockup when braking hard, or the rear brakes don’t seem to be doing much.
To diagnose these kinds of problems, you need a pair of high-pressure brake gauges and some fittings so the gauges can be teed into the brake lines. For checking side-to-side brake imbalance, one company makes a nice set of pressure gauges that are attached to pad-style sensors. The sensors can be installed in place of the inner brake pads to measure how much pressure each caliper is exerting when the brakes are applied.
Brake Fluid Testers
A brake fluid tester is another diagnostic tool that every brake shop should own, but many do not. Brake fluid degenerates over time and absorbs moisture. One way to “see” how much moisture is in the fluid is to use a brake refractometer.
This is a precision optical instrument that uses the fluid’s refractive index to reveal its condition. Moisture alters the way the fluid bends light, making it easy to "see" the amount of contamination on a scale in the eyepiece. The refractometer scale will be calibrated for DOT 3 or DOT 4 fluids.
Another way to check the condition of the fluid is with an electronic brake fluid tester. There are testers that measure the electrical resistance of the fluid, but these can often be fooled by the presence of certain additives or contaminants in the fluid.
The most accurate type of brake fluid tester is the type that boils a small sample of fluid to determine the fluid’s boiling temperature. If a DOT 3 fluid’s boiling point has dropped to 312F or less, the fluid is contaminated and needs to be replaced (340F for DOT 4 fluid).
Another method for checking the condition of the brake fluid in a vehicle is to use special chemical test strips. Some of these strips react to chemicals and dissolved copper in the fluid to reveal its condition. The test strips change color to indicate "good" or "bad" fluid.
For Changing Fluid
The brake fluid in a vehicle should always be flushed and replaced with fresh fluid any time major repairs are done on the brake system (new pads or shoes, replace or rebuild calipers, wheel cylinder, brake lines, etc.). Changing the fluid assures safe braking, and reduces the risk of a comeback when old fluid is left in the system.
The old fluid can be removed with a power bleeder, vacuum siphon tool, an injector tool (that can do both pressure and vacuum bleeding and flushing) or by manual bleeding.
Air-operated power bleeders, electric-power bleeders and hand-operated pressure bleeders are all available for flushing the brakes. Air bleeders run off the shop air supply and use a portable tank to pressurize the brake system.
Electric pressure bleeders have a 12-volt electric motor to pressurize the system. The smaller (and less expensive) hand pressure bleeders use a hand pump to pressurize the system. Various adapters may be required to connect the power flusher to the fluid reservoir cap opening on the master cylinder.
Vacuum bleeders that run off shop air or use a hand pump also can be used to pull fluid through the system rather than push it. The vacuum bleeder is attached to the bleeder screw on a caliper or wheel cylinder to pull fluid from the master cylinder. One advantage with this approach is that you don’t need an assortment of adapters for various master cylinder reservoirs.
Another option is to use an “injector” tool that can either pressure flush or vacuum bleed the brake lines. The injector tool comes in several versions including hand-operated and pneumatic. The same tool also can be used to bench bleed master cylinders, clutch master and slave cylinders and hydraulic clutch lines, to leak test hydraulic components such as automatic transmissions and ATF coolers, to bleed and flush power steering pumps, lines and gears, and to meter and inject various fluids and gases.
On some ABS-equipped vehicles, you may also need a scan tool to cycle the ABS solenoids so trapped air can be vented from the ABS hydraulic modulator unit.
Hand Tools
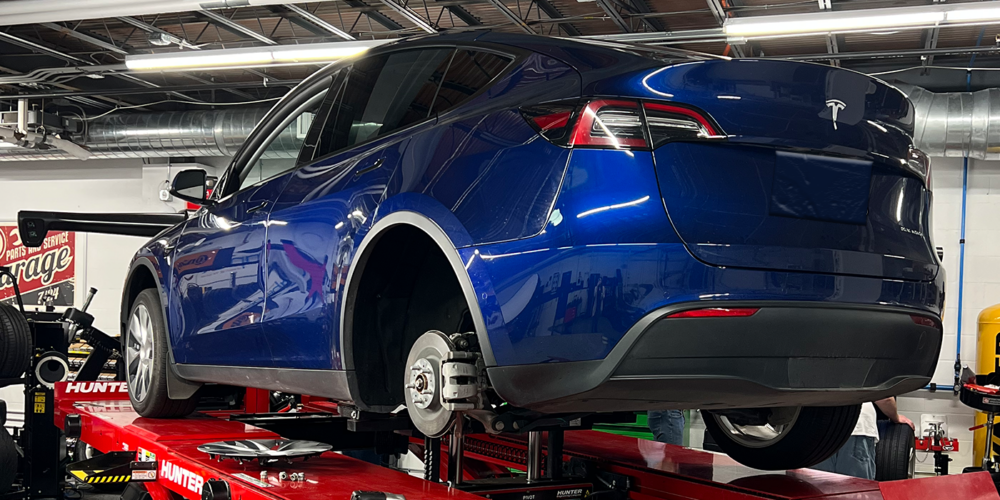
For disc brake work, basic hand tools are usually all you need to remove calipers and replace pads. But on some cars, you will need specific Torx drive bits for the caliper bolts. Some type of caliper piston tool, or a large C-clamp, is also necessary to push the piston back into the caliper when replacing pads.
For drum brake work, getting a rusty drum off the hub is often the most difficult part of the job. A brake drum puller (screw-style and/or slide hammer) usually works here, as does a blunt bit for a pneumatic air hammer to help vibrate the drum loose. A large soft-faced mallet may also be needed to help persuade a stubborn drum to pop loose.
Once the drum is off, a drum gauge should be used to measure the inside diameter of the drum to determine wear, and whether or not drum replacement is necessary.
To remove the shoes and other drum hardware, some spring pliers and a hold-down spring release tool come in handy. You might also need a clamp to keep the wheel cylinder pistons from popping out.
Rotor & Drum Resurfacing
Resurfacing rotors and drums in-house can generate additional profits for a shop, and save time. But it also means investing in a bench lathe and/or on-car lathe, and having a place to put this equipment in the shop.
Bench lathes that can do both rotors and drums are a good choice, but keep in mind that the lathe is only as accurate as the person who uses it. Lathes need to be calibrated periodically so they cut true, and bits need to be kept sharp for a good surface finish.
Many vehicle manufacturers approve of on-car rotor resurfacing, and say it is the preferred method because it delivers a straighter cut with much less runout. On-car lathes have automatic setup procedures, and can save time (especially on vehicles that have difficult-to-remove "captured" rotors).
Most lathes, if used correctly with sharp bits, will produce a satisfactory surface finish that meets OEM requirements. For optimum tool life and a superior finish, consider using coated carbide bits or super abrasive bits. If a non-directional surface finish is desired on rotors, grinding attachments or a flexible brake rotor brush also can be used to buff the rotor finish.
If a car has composite rotors, and the rotors need to be resurfaced, special adapters or oversized bell caps must be used with a bench lathe to support the rotors. Otherwise, the rotors can flex causing finish problems and runout.
Service Information
Finally, one last thing you need to diagnose and repair brakes today is access to up-to-date service information. Paper manuals are expensive, and in many cases difficult to obtain because so many manufacturers have gone to electronic media for their service information (CDs, DVDs or online databases). Your best options are to subscribe to an online service, or to access the vehicle manufacturer technical Web sites (available at www.nastf.org).
Most charge a $15 to $25 fee for short-term access (one to three days), but some are free. The costs can be passed along to your customers on their repair bill as a necessary expense for obtaining service information for their vehicle.