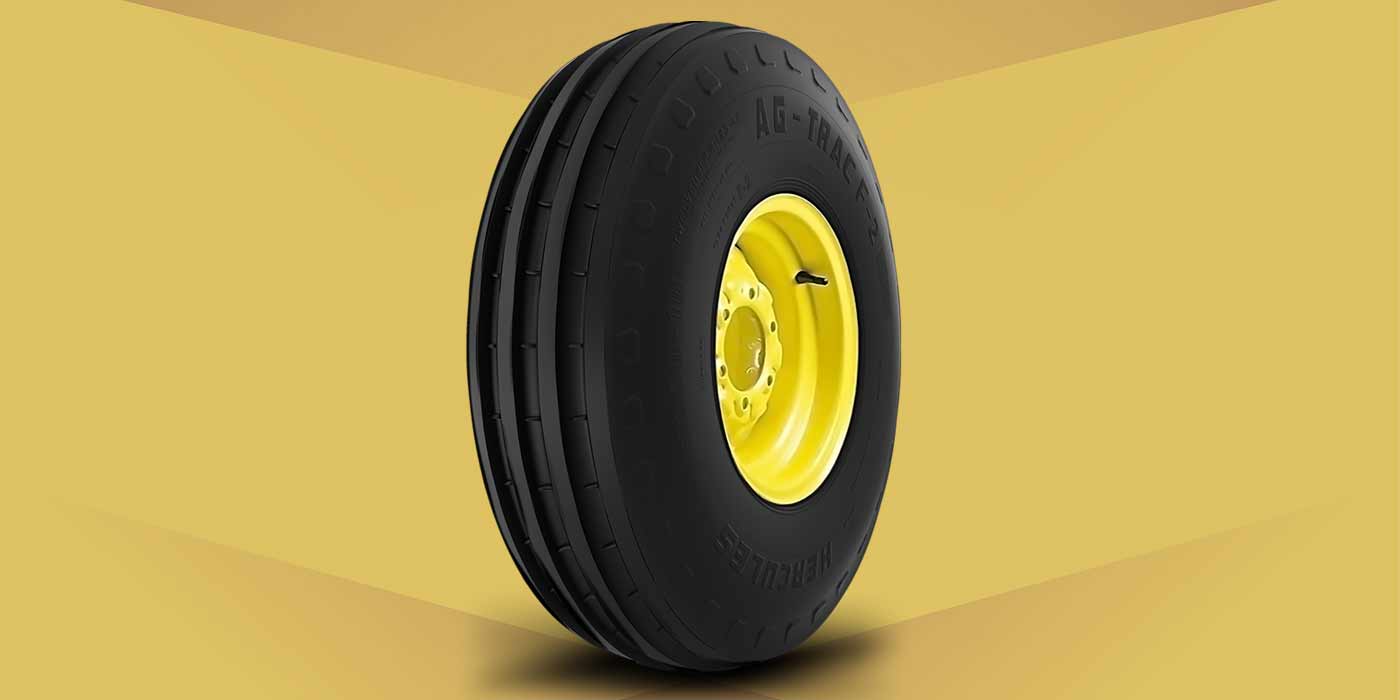
You must have at least one employee with some basic knowledge of custom wheels and non-OE high performance tires, even if you don’t sell them.
Why would you want to know about something that you don’t sell? First, if you’re not selling custom wheels, you’re missing a huge profit opportunity. Even then, you will certainly see them in your service bays and will have to remove them to perform undercar repairs or diagnose a ride complaint or mechanical issue correctly.
All of these scenarios place you in a liability position. Mishandling a fitment, tire rotation or reinstallation opens your store up to serious legal problems.
Aftermarket wheel installation requires much more than just placing the wheel on the hub and tightening the lug nuts. It involves a great deal of knowledge and expertise that, admittedly, very few people have.
This Performance Training Guide was developed to provide you and your staff with tips and ideas on how to service and install custom wheels and high performance tires properly. Going even further, we are presenting a series of real-life case studies, scenarios that may help you avoid or diagnose a problem.
Case Study 1
A customer complains that his or her vehicle has a vibration, either while driving under normal conditions or possibly only when under hard braking.
Sounds like the tires need balancing or maybe a brake job, right? Not necessarily. This is how quickly a simple problem can be diagnosed incorrectly and then become a bigger problem.
To determine where we need to look, let’s ask a few questions:
1. When did the vibration begin to occur?
2. Was it after you or someone else installed custom wheels or performed some other work requiring the removal of the wheel, like for a CV axle replacement?
3. Does the vibration occur with the OE wheels installed?
If a set of aftermarket wheels were recently installed, the vibration could be coming from a couple of areas.
We can diagnose this with the following procedures:
1. Hub and Wheel Inspection:
Take a look at the mounting surface of the vehicle’s hub and the mounting pad of the wheel. Are they clean? Has surface rust built up on the hub or mounting pad? If so, remove it with a wire brush or abrasive pad. If the hub was painted recently, the wheel could have been installed prematurely, causing the paint to stick to the mounting pad.
This caused the wheel not to sit flush with the hub. It only takes the thickness of a business card to cause a vibration. Also, if the wheel is chrome plated, look to see if the chrome has started to peel off of the mounting pad. Again, thickness of the plating missing from one area could cause a vibration. Either repair or replace this wheel.
2. Obstructions
I’m still amazed at how many people don’t know to remove the Tinnerman clips from the vehicle when installing aftermarket wheels. You know these; they are on every vehicle and were necessary when the vehicle was being assembled. OE wheels are designed with a pocket in the mounting pad around the lug holes to accommodate these clips. Aftermarket wheels do not have these pockets.
Typically, there are only a few on each hub, sometimes only one or two. If you mount a custom wheel on a vehicle without removing these clips, the wheel won’t sit flush, creating a wobble. Left uncorrected, this can also lead to a false torque reading on the installation of the lug nuts and could cause the lugs to back off. In severe cases, I have seen the wheel develop a stress fracture between the lug hole and the centerbore. Any wheel found to have this condition should be repaired or replaced.
3. Wheel-to-Hub Fit
In the past, I have told you about step bores. You notice that the wheel is resting on the top of the vehicle’s hub. This is a common problem, so keep this one close at hand. The centerbore may not be deep enough to clear some tall hubs (red area), like those we have mentioned that come on many GM front-wheel drive cars, especially those with 5×115 mm bolt patterns. If the wheel is installed without the driver noticing this condition, the result is similar to what you get with the Tinnerman clips – a wobble and vibration, with possible loosening of the lug nuts.
4. Lug Centric Wheels
Most vehicles with aftermarket wheels installed probably don’t have a set of centric rings installed. Centric rings are used to help center the wheel onto the hub so it fits like the OE wheel, which is hub centric. Many front-wheel-drive vehicles and some late-model, rear-wheel-drive sports sedans and SUVs are sensitive to small amounts of runout.
If proper installation procedures are not followed, the gap between the hub and centerbore can allow the wheel to be installed slightly off center. This creates a condition that may cause the vehicle itself to wobble at very slow speeds, say 10-15 mph. In some cases, the wobble is so subtle that the driver may not notice anything until the brakes are applied.
In most cases, when you don’t see any other mechanical cause to the vibration problem, install a centric ring and, if possible, a set of ET mag lug nuts. (Note: Not all wheels will accept ET mag lug nuts.) You will need to measure the centerbore diameter with a dial caliper to order the proper centric ring. Remember that 73 mm and 72.62 mm are both common diameters for centerbores. Also, if you don’t have a technical databook, ask your supplier to verify the diameter of the vehicle’s hub before buying the ring.
Follow these guidelines on all of your wheel installations:
1. Place the wheel on the hub.
2. Start each fastener (lug nut or lug bolt) by hand.
3. Rotate the wheel after you tighten each fastener.
4. Bump against the tire with your hand and keep tightening the fastener, allowing each one to seat into the wheel until you can no longer turn the fastener.
5. Use a lug wrench to apply a little more torque on the fastener.
6. Lower the vehicle to the ground and finish the torque with a calibrated torque wrench set to manufacturer spec. Every vehicle with a similar diameter stud does not have the same torque recommendation, so look it up.
Case Study 2
You have a vehicle in the shop with lug locks and the key has been lost. What do you do?
If the wheels have a lock on them, they are probably expensive. Before you take an air chisel to the stud, consider a few alternatives. First, there are several lock removal tools with sockets that will fit your 1/2-inch drive. The threads on the inside are reversed and tapered, so as you slowly drive the socket onto the lug nut, it grabs it and backs it off in most cases.
If there isn’t enough clearance in the lug hole area for the lug removal socket, which tends to have a thick wall, you may want to take a cheap deep-well socket that is just slightly smaller than the lock and drive it on with a hammer. Hopefully, the socket will grab the lock and allow you to remove it before it breaks.
One last tip, and again, this is from personal experience: If you have a stud that breaks loose inside the rotor and allows the stud and lug nut to spin freely, get yourself a good 1/2-inch carbide tip drill bit, wedge yourself against a nearby wall and drill the stud out until the lug nut falls off. This sounds like a worst-case scenario, but I found it actually took about as much time as with the chisel, except that my wheel was still intact when I finished. The new stud cost $3.
Case Study 3
The stud snaps off when installing a lug nut, and replacing the stud and installing a new lug nut causes the new stud to snap. What gives?
I experienced this a number of years ago. The ordeal took me all the way to the manufacturer of the lug nuts and to a lug stud supplier. The result led to two possible answers:
1. The lugs were bored off center at an angle, not straight all the way through. In my case, I was working on a 30-plus-year-old truck suspension and installing a set of Cragar S/S wheels, which require mag-shank lugs. The lugs were engaging about halfway down the stud and then began binding up. A mag-shank lug requires a washer that seats just under the head of the lug and fits into a recess in the wheel. If the lugs are wrong, the head of the lug nut will bind against the washer, which, in turn, applies leverage to the stud and causes a break.
2. The studs were manufactured incorrectly. As it turns out, there are some technical bulletins regarding imported lug studs having fluctuations in the tolerances. Knowing this, we went to the parts store and ran every lug nut we had onto the replacement studs that we needed.
What we found was shocking. It took three full boxes of studs for us to get 10 that we could use. The same lug nut would engage one stud fully but only about one-third to one-half of the way on the next. Keep this in mind when you have to replace a stud for any reason. You may run into the same problem.
Case Study 4
A customer comes into your shop with a late-model dually truck that has a vibration you can’t get rid of.
This is one for the books. Apparently, a vehicle manufacturer was having vibration problems on its dually trucks and approached Hennessey Industries to figure it out. After months of research, it was determined that the centerbore on the wheels was not completely round. Being that the wheel was OE, it was designed to rest on the hub. In this case, the centerbore was ever-so-slightly egg-shaped and wasn’t centering the wheel correctly.
Once the lugs were tightened, the wheel was essentially rotating around a false axis, much like the lug centric wheel in our earlier example. To remedy the situation, an adapter plate was developed that simulates the hub of the truck while on the balancer. The procedure to use is as follows:
1. Remove the wheel from the truck.
2. Slide the adapter hub onto the balancer shaft, place the wheel on the balancer and tighten the nut.
3. With the valve stem in the 12 o’clock position, loosen the nut slightly and let the wheel settle, then retighten.
4. Balance as usual and install weights.
5. Install the wheel back on the truck, being careful to place the valve stem in the 12 o’clock position before tightening the lug nuts.
I know that this sounds unbelievable, but I saw the results for myself – it works!
Case Study 5
You see an unusual amount of comebacks for out-of-balance conditions.
Many times, the obvious is overlooked, and sometimes, you could beat your head on the wall trying to figure it out. Here is a little guidance to help you avoid putting holes in the wall.
First, if you use more lubricant than usual to seat the beads on a tire during mounting, index the tire to the rim on the inside with a chalk mark. In the event that the tire slips on the wheel, and the customer returns within a few days, complaining that the tires are out of balance, you can quickly check to see if the tire slipped. If so, quickly re-index the chalk marks to re-establish the balance. This is especially true with a high performance vehicle, in which the driver may go out and ‘enjoy’ the grip of the new rubber before the tires have fully bonded to the wheels.
Another problem is heavy pickup trucks and SUVs. I have seen numerous occurrences in which the owner drove the truck immediately after the tires were installed, and after a few stops, came back to say that the tires weren’t balanced properly. Checking the index mark indicated that the tire had slipped. We suggested that he drive conservatively for a day or two while the lubricant dried. Most equipment manufacturers suggest using a paste lubricant to help avoid this issue.
Now for the less-obvious condition: technician-created vibration affecting the balancer reading. Have you ever noticed a technician bumping or simply grabbing weights out of the bins on the balancer while it is taking a reading? You may not realize it, but when a technician jostles the equipment, it can cause a false reading. As a result, the weights the balancer indicates will be completely erroneous.
To see what I mean, balance an assembly to “0” without touching the balancer. Once the weights are on, spin it up again, and this time, simply bump the balancer. Notice anything? The balancer will throw some wild numbers up, as though the assembly hadn’t ever been balanced.
Taking this a step further, I know of a shop that was getting complaints regarding balancing. After diagnosis and research, it was determined that a train passing by the back of the shop gave off a subsonic vibration that was being picked up by the balancer, generating false readings.
If you are located near an airport, train tracks or heavy construction, such as pile driving, you may want to test these principles to find out if they are affecting your balancer. Also, consider loud stereos and exhaust, as well.
Case Study 6
Wheel accessory fitments – such as for center caps – can be difficult if you aren’t familiar with how they and the wheels are designed. An example would be the Smoothie-style wheels from Wheel Vintiques (wheelvintiques.com).
There is a major difference in how the Baby Moon cap fits each wheel. The 14- and 15-inch wheels take a 7.5-inch retention ring cap to snap in to the wheel. The 16- and 17-inch wheels require a 7-inch retention ring cap to snap in to the wheel (same as the Rallye).
You can turn the cap over and measure the diameter of the retention ring to determine which one you have. This is very useful if you have a customer who bought a set of wheels at a swap meet and wants to buy the accessories from you. The last cap is designed for the Billet series wheels, in which the style of the original has been reproduced in larger-diameter billet two-piece wheels. The billet wheels have a Baby Moon cap created specifically to fit them. The manufacturer accomplished this by putting the dimples on the cap instead of the wheel. The billet wheels are built in a wide range of widths, offsets and bolt patterns in 17- and 18-inch sizes to fit practically every classic car or truck make, as well as newer models like 1999-up GM 1500 trucks. Wheel Vintiques even drills a 5×100 for the PT Cruisers that are used for retro conversions.
Knowing what we have discussed about centerbores, make sure to note the year of the vehicle when you order a wheel for your customer. This is particularly important for light trucks with a 6×5.5 mm bolt pattern. As we mentioned before, the centerbores available for 6×5.5 differ greatly. Wheel Vintiques, for example, produces specific wheels for each, all having their own unique part numbers.
As for the Rallye-style wheels, some other manufacturers have different designs for OE and aftermarket versions, while Wheel Vintiques makes its Rallye the same as the original with a single bolt pattern. This allows you to use the OE caps with the reproduction wheel.
Case Study 7
Where do you mount new tires if the customer buys only two, even though it may be obvious he or she needs four new tires?
This is one that is fresh in my memory. As I was writing this article, an acquaintance of mine bought two new tires for her son’s front-wheel-drive car at a national retailer. In reality, all four tires were bad and should have been replaced, but the family budget just did not allow this at the time.
The tire installer placed the two new tires on the front, which many people think is correct when dealing with a FWD vehicle. Think again. Tire manufacturers agree that, when installing only two tires, you must place the new tires on the rear of a vehicle, regardless of whether it is FWD or RWD.
Guess what happened to the boy the very evening after the new tires were installed? It rained hard. While traveling over a long bridge, he tried to change lanes. The car began to spin out of control. After several rotations, it hit the concrete guardrail, totaled the car and injured the young driver. What happened?
The two new tires were placed on the front of the vehicle, giving it better traction than the rear. When the driver changed lanes, the front tires remained in contact with the road, but the worn rear tires hydroplaned and lost traction. The rear of the car continued in a forward motion, creating the spin.
If the two new tires had been installed on the rear, the front tires would probably have lost traction first. This would have created an understeer situation, but that condition causes the vehicle to continue traveling in a straight line.
Lifting off of the gas pedal (or the brake, if it was applied) would have allowed the tires to regain traction, so the driver could regain control.
We face challenges every day in this business. I urge you to provide your employees with every bit of training that you can get your hands on. I have worked with tire dealers across this country – from single-store owners to dealers with multiple stores across several states.
Regardless of your size, your livelihood depends on how well your employees perform their jobs.
Let’s all do our part to keep this from happening again. If you are interested in aftermarket tire and wheel training, contact me, and we can discuss your options.