Any new car dealership technician will tell you that diagnosing chassis noises can be one of the most frustrating problems a technician can be called upon to deal with. Although modern quality-control 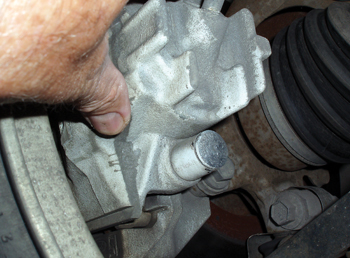 measures on the production line have vastly reduced the number of chassis noise complaints, they still exist. In response, many auto manufacturers have devised noise, vibration and harshness (NVH) diagnostic techniques and equipment designed to quickly pinpoint the source of a noise.
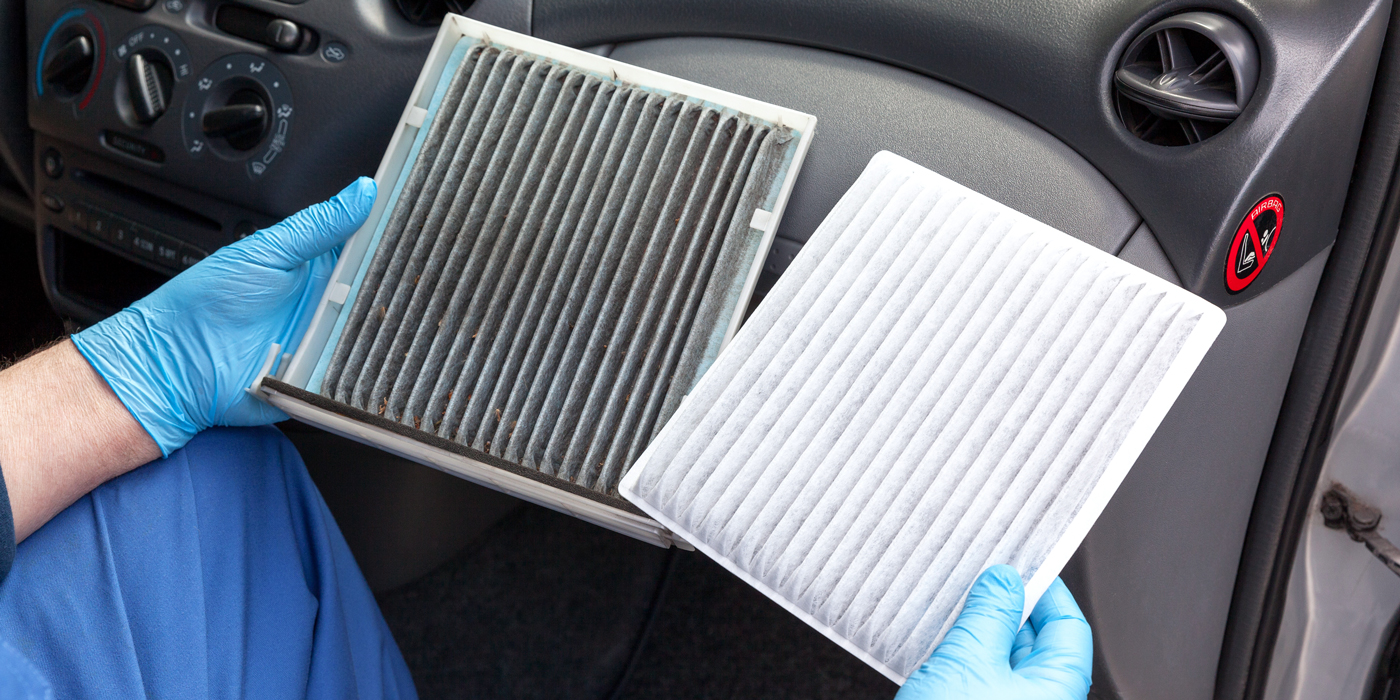
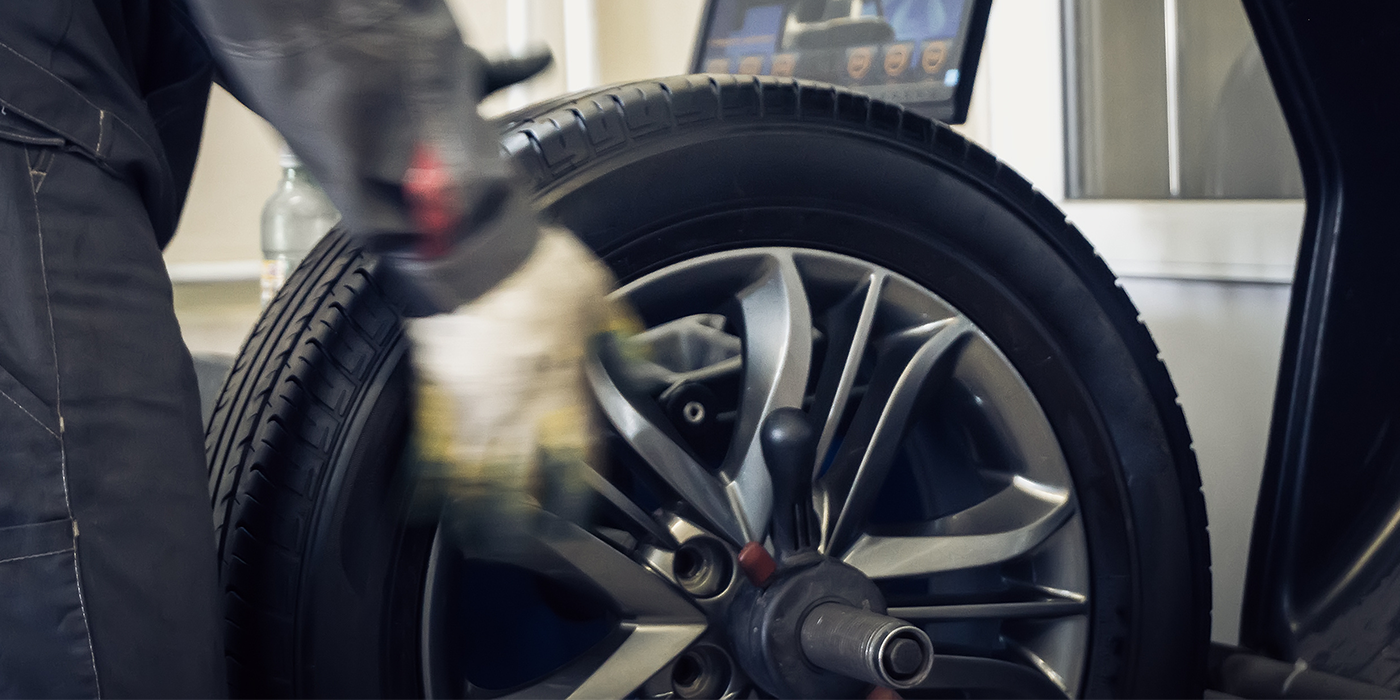
Technicians working in aftermarket shops generally don’t have the need for this level of diagnostics, due in part because most new vehicles have already been “de-bugged” under warranty and because the causes of noises change as the vehicle ages. In the aftermarket, repair oversights, worn parts and normal wear most often cause noises. See Photo 1.
Gathering Information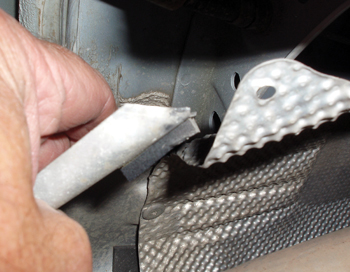
Customer interviews are critical to the noise location process. Keep in mind that the grinding noise that you hear might not be the squeaking noise that the customer hears. In most cases, a test drive with the customer might help to identify the noise with which he or she is most concerned.
If the noise is intermittent, use a checklist to help identify the conditions under which the noise occurs. Is it a cold or warm-weather noise? Does it occur when the wheels hit a tar strip or does it occur more frequently on a gravel or washboard surface? Is it a squeaking, chirping, rattling, knocking or clunking sound? Or is it a wheel-speed or an engine-speed noise?
Last, it’s important to consult auto manufacturer TSBs before approaching a difficult noise diagnosis. At times, a noise can be so difficult to locate that the diagnosis has to be done in an engineering laboratory. TSBs are also the culmination of inputs from hundreds of technicians and field engineers working to solve noise problems. 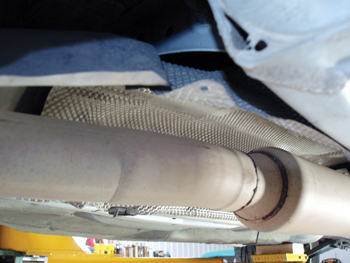
Shop Procedures
Successful chassis noise diagnostics require a methodical approach. The best procedure is to perform a bumper-to-bumper undercar inspection and not stop with the first problem you find.
If it’s an older, high-mileage vehicle, I generally start by lubing the hood, hatch, trunk and door latches and checking for smooth, secure operation afterward. This reduces the possibility of these parts being randomly stuck in a half-latch position. Rubber door seals and plastic parts should be routinely lubricated with an aerosol silicone spray. Windows should also be checked to make sure the channels are secure in the doors and that the window fits the channels.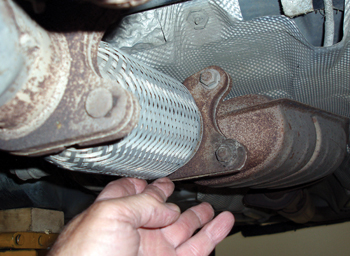
Underhood checks should include unsecured batteries, hoses or other hard parts that might cause a rattle under some driving conditions. Similarly, the trunk or rear hatch area should be checked for loose spare tires, jacking equipment or other paraphernalia that could make noise.
Last, always check for obvious drivetrain or chassis clunking noises by performing a preliminary parking lot test that includes shifting from forward to reverse, applying the brakes and steering lock-to-lock. When road-testing for undercar noises, a set of chassis listening “ears” can prove invaluable in solving noises that transfer through the chassis.
Exhaust System Checks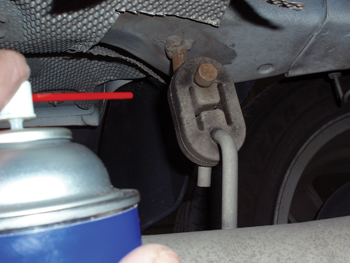
Exhaust systems, in particular, are exposed to road debris damage and also are vulnerable to inexpert ¬repairs. Exhaust pipe and catalytic converter shielding is a good place to start because the shielding is the most easily damaged part of the exhaust system. See Photos 2 and 3.
Exhaust pipes can cause intermittent noise problems because the pipe itself expands and contracts with exhaust heat. Consequently, a good rule of thumb is to allow enough clearance to easily fit your hand between the pipe, muffler and body. In addition, check the exhaust hangers to ensure that all are attached and that all are supporting the weight of the exhaust. Always shake the exhaust to ensure that it’s not touching body or chassis parts. 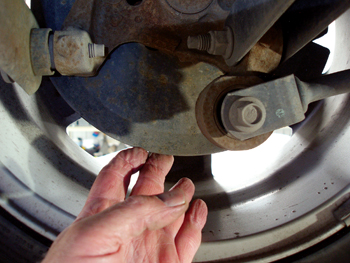
Catalytic converters can occasionally produce intermittent noises if the substrate becomes separated from the steel shell. If the converter rattles when tapped with a rubber hammer, the substrate has loosened. In addition, always make sure that the flex joint located between the engine exhaust outlet pipe and converter is in good condition. See Photo 4.
Last, take time to spray all rubber exhaust hangers and chassis parts with an aerosol silicone compound. Silicone will stick to rough-surface parts like rubber or plastic and will go a long way in quieting small, but irritating, noises. See Photo 5.
Chassis Component Noises
Chassis noises can fall into several different categories. The first might be a “tar-strip” chucking noise that’s most noticeable when the wheel strikes a small, but abrupt, irregularity in the road surface. What I call a gravel-road or washboard road noise is often similar, but responds at a higher frequency due to the increased irregularity of the road surface. See Photo 6.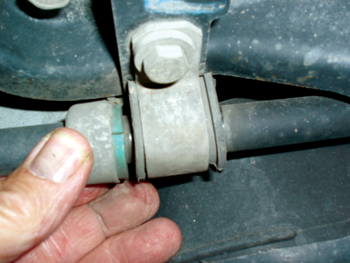
In general, loose components like exhaust system shielding, worn stabilizer bar links, worn shock absorber mounts, worn or broken shock absorbers and MacPherson struts, or other parts that move up and down in relation to road surface, are always likely suspects in an intermittent rattling or chucking noise complaint. See Photo 7.
Sometimes these noises can be duplicated in the shop by jouncing the suspension system by hand. When jouncing a vehicle, avoid placing your hands on the sheet metal. Instead, place your knee on the bumper to avoid sheet metal damage.
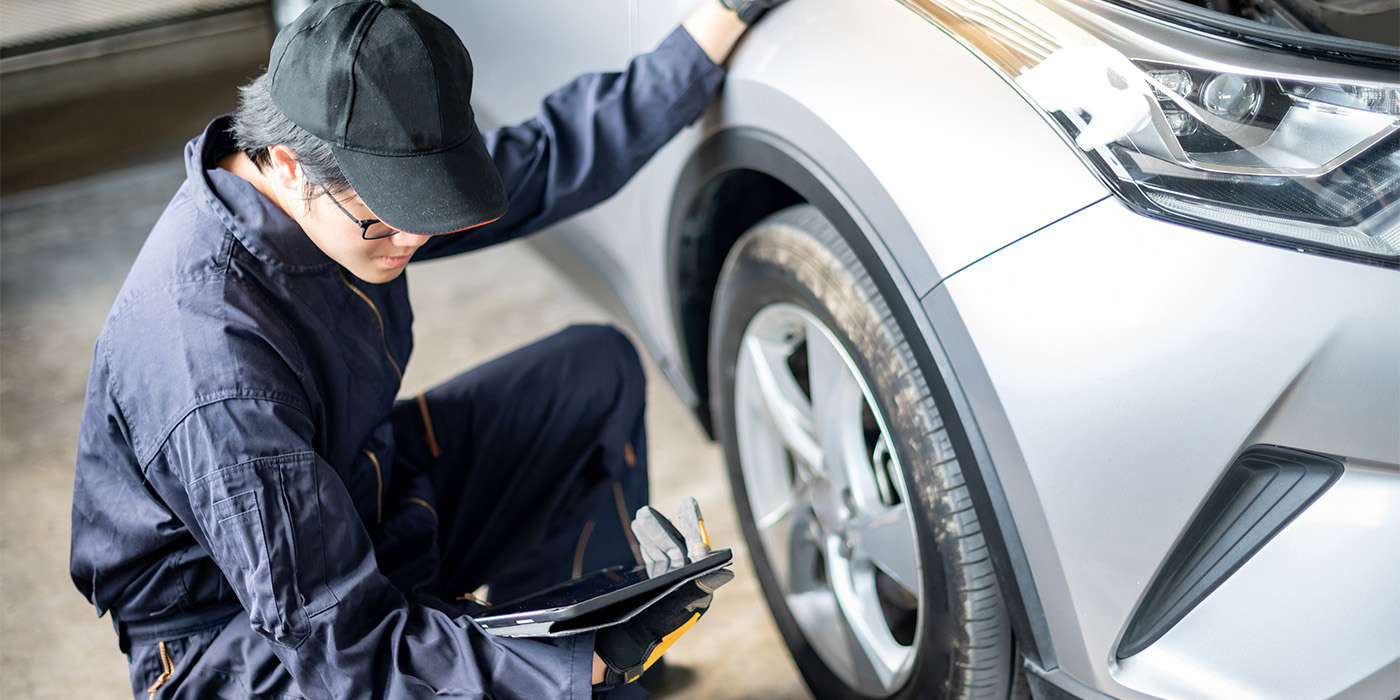
Because a drive-on lift allows all suspension components to remain within their normal range of travel, a more accurate assessment of chassis component wear can be made. A drive-on lift equipped with chassis jacks is a bonus because the vehicle can also be raised or lowered as the situation requires.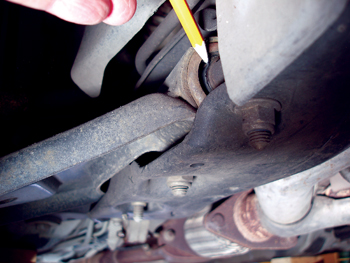
At rest, rubber control arm bushings should be concentric with the shaft when at rest. If the shaft looks off-center from the bushing, the bushing is likely worn. In addition, look for “black rubber” on any suspension bushing. If the bushing shows dark black rubber or the rubber is badly cracked, it should be replaced. See Photo 8.
When dealing with suspension noises, try to duplicate the noise by applying power or by braking. In some cases, a worn bushing can make metal-to-metal contact when the engine accelerates and decelerates. Photo 9 illustrates a worn bushing that would cause a knocking/chirping noise when power was applied and the suspension hit a bump.
Keep in mind that when power is applied, it’s the suspension components that absorb the driving force. When power is applied, the directional thrust against a lower control arm is toward the front of the vehicle and inward toward the chassis centerline.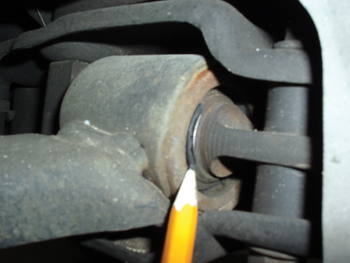
When brakes are applied, wheel torque occurs in a circular fashion. Because the passenger wheel rotates clockwise going forward, braking torque stresses the suspension components in a clockwise direction. Consequently, braking torque affects both upper and lower control arms or the radius arm and MacPherson strut.
Last, don’t forget to inspect conventional engine mounts, engine torque struts and other rubber powertrain mountings. Just a small amount of metal-to-metal contact on these parts can create a major noise complaint.
Because noise is easily transferred through the suspension system and chassis, never assume that a noise can be located by sitting in the driver’s seat. It’s much better, in most cases, to use electronic listening equipment placed at strategic places on the chassis to help locate drivetrain and chassis noises.