Like most automotive repairs, the first thing you need to do before performing transmission work is to diagnose the problem. Of course you can try asking the vehicle owner for a description of the car’s symptoms, but many times you get things like: "It goes wacka, wacka wacka," or "kerplunkety, kerplunkety." In these cases, it might be better to form your own diagnosis.
The three areas to consider are Electrical testing for things like solenoids, neutral safety switches, etc.; Electronic testing/diagnostics for computer-controlled transmissions; and Pressure testing to check internal hydraulic fluid pressures.
Electrical Testing
One of the first things that should be in the box is a high-end multimeter. This tool is absolutely necessary to be able to sort out the problems. When shopping for a meter, look for one that can handle 600 volts DC or more. It should be internally fused with a rating of at least 10 amps. Many meters are now rated 20 amps, which allows the tech more flexibility when testing. Many meters are now carrying CAT III certifications, which are important if you service hybrid vehicles. Look for a CAT III/1,000V rating.
Other nice features are diode testing, dwell testing, temperature and the ability to display results in a graphical manner. Also pay special attention to the display. Are the digits big enough that you can comfortably read the screen? Is the display back-lit? This really comes in handy in low light conditions.
There are some great vehicle-specific single-use testers, such as solenoid testers/simulators. These tools allow the technician to verify that components are functioning independent of the vehicle’s control system and for diagnosing non-drivable vehicles.
Most new cars on the road today have some sort of electronic controls integrated into the driveline. This means that the car’s ECU(s) is communicating with the transmission, transaxle, differential, etc. And it also means you need a scan tool in your arsenal of weapons to combat the demons that are making Mrs. Smith’s car go kerplunkety instead of zoom-zoom!
Scan tools can range from a low-cost “code reader” to a multi-thousand-dollar diagnostic system. Like most things in life, you get what you pay for in terms of value versus cost. Low-cost code readers are useful for quick diagnosis and many experienced driveability technicians will keep one in their boxes for a quick diagnosis or to verify if a repair has fixed an issue. These tools do provide valuable information, however, in many cases it’s up to the user to decipher what the tool sees. There are some, new low-cost tools coming into the market now that provide some robust features. When shopping for a small hand-held code reader, look for some of the following features: live data, readiness tests, read and reset codes. These tools generally will run $100-$300.
For the more complex problems that can arise and to be able to access OEM-level information from the vehicle’s systems, you will most likely need to look at more sophisticated (read expensive) solutions. There are some great intermediate-level diagnostic platforms out there that provide significantly more information than the code readers, but remain affordable. These tools offer features like upgradeability, manufacturer support, tech phone lines, print capability and serial outputs to allow you to send information to your PC. Pricing on these types of scan tools will range anywhere from $300 to $1,000.
The last and most powerful diagnostic scan tools are the complete systems offered by several of the largest and most respected tool companies in the industry. These systems are often complete as turnkey systems from the manufacturers. They may offer software that is specific to domestic, Asian, European and heavy-duty vehicles. Some companies offer the ability to reflash (reprogram) the car’s computers. There are kits that feature software that allows you to service brakes, ABS, airbag, etc. When making your buying decision on a system of this magnitude, make sure you have a list of questions for your tool dealer written down. Don’t be afraid to ask to speak to a factory rep if the dealer can’t answer your questions. Most of the larger tool companies have tech support lines staffed with technicians who can “talk the talk.”
Removal/Installation Tools
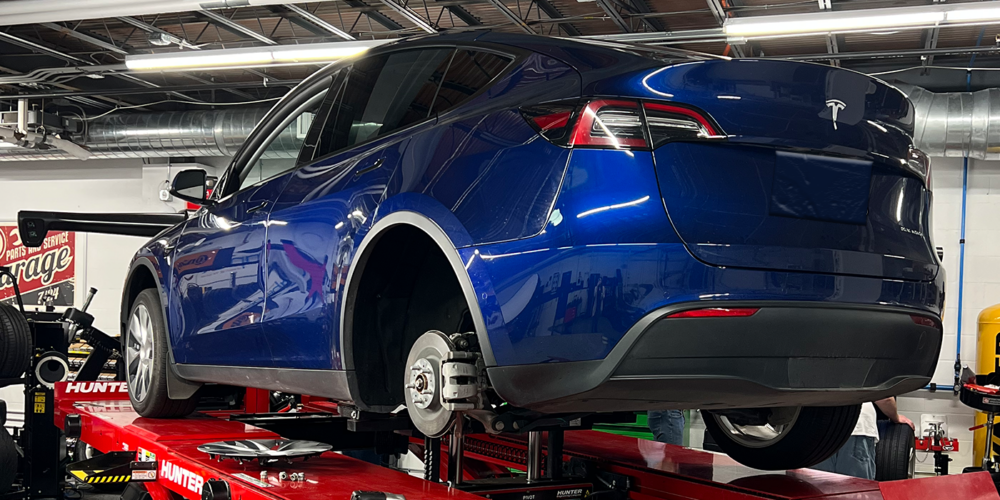
In many cases, repairing the transmission involves removing it from the car or truck you are working on. That, of course, means you need a way to get it out of the vehicle without damaging you or it in the process. The equipment required to do that is different for different types of transmissions and systems. Most passenger cars today are front-wheel drive. In some front-wheel-drive applications, you will want to remove the transmission without removing the motor. In those cases you need an engine bar. The engine bar is a three- or four-legged stand that sits on the engine apron area and holds the motor up once you start disconnecting things down below. The better units have adjustability for the shape of the hood area, as well as a way to lower and raise the motor. If you are going to be doing a lot of front-wheel-drive work, you should invest in a premium unit that also features a ratcheting take-up device almost like a come along. These are a little more expensive, but can cut your labor time dramatically.
Rear-wheel-drive vehicles with conventional transmissions will need the use of a conventional high lift transmission jack. When making a buying decision, the first thing to consider will be capacity. There are jacks with capacity starting at 750 pounds. These lighter units are fine for many small to mid-size vehicle transmissions and for the occasional user. If you will be servicing heavier equipment or using it every day, you may want to consider a 1,500- to 2,000-pound capacity unit.
The next thing to consider is if you want to use air to assist the lifting process, or if you prefer a manual (hydraulic only) unit. There are three kinds of units: hydraulic only, which means you will provide the input power with a lever or foot pedal; air only; or a combination unit called air over hydraulic. This last type applies air pressure to the hydraulic fluid to compound or multiply the lifting capacity and reduce the amount of input force the user has to provide. All three units are good choices and it is really up to the user as to which version they prefer. Obviously, the air assisted and air only will need to have access to an air supply.
Pay special attention to the business end of the jacks you are looking at – the handling or tilt table at the top of the unit. There’s quite a range of quality and prices out there. The lower end units will many times cut corners and cost at the top of the jack. The adjustability and the hardware used to do those adjustments are critical to you being able to do your job safely and quickly. Make sure the unit has some sort of retaining brackets and a safety chain on the platform as well. The unit should tilt not only side to side, but also front to rear. This allows you to make minor adjustments when trying to get the transmission back in the vehicle.
Fluid Handling Equipment
Many times you won’t need to remove the transmission from the car to service it. You may only want to change fluid, filter and adjust, or work on the unit in the car. For those times, you need a way to quickly and cleanly drain the transmission. How you go about draining the fluid has a lot to do with the kinds of vehicles you are working on. There basically are two approaches to draining fluid. The first method to drain fluids is the gravity method. In this situation, you would either remove a drain plug (if the vehicle has one) or loosen the pan to let the fluid escape.
Here is where you can save yourself lots of mess, hassle and frustration. There are several versions of a huge plastic drain funnel made for draining transmissions. These funnels or adapters are designed to sit on top of a tall oil drain under the car. Almost like a huge mouth, these adapters will gobble up all that fluid raining down without it showering you and the garage floor with a mess. This inexpensive tool will pay for itself many times over.
You will want a container to drain that fluid into. The most common and logical drain for most shops is a rolling oil drain with an extendable receiver on it. This allows the technician to adjust the height of the drain to allow for different vehicle types they are working on.
The decisions to be made when selecting a fluid drain are: material, volume and drain method. The materials used in the construction of oil drains are plastic and steel. Each has its advantages and disadvantages. Plastic is usually less expensive, it is not subject to rust or corrosion and in some instances is more forgiving of impact damage that might puncture a steel unit. The disadvantage to plastic can be in lower quality and cost units, but they can become soft and sag under the weight of hot oils.
Volume is a pretty simple issue. If you are spending more time draining the unit than using the unit, you are losing time and money. These drains start as low as 5-8 gallons in capacity going up as high as 40 gallons. Base your decision on how many fluid services you do on a daily and weekly basis.
The two types of drain methods are gravity and pressure. Gravity is just what it sounds like – open a valve and the fluid will come gushing out the bottom of the drain. Sounds great, right? Well, maybe. Let’s say you have an 8-gallon drain and it is full. Now let’s also say that the barrel that your local waste oil hauler provides is 40 inches tall. Let’s do the math here: 8 gallons times 8-9 pounds per gallon, plus the weight of the drain itself. I think you can see where this is going. How many times a day or week do you want to have to lift that 80-100 pounds up to drain it? It’s your call, but if it’s my back we are talking about, I would at least look into pressurized drains.
Pressurized drains are almost always constructed of steel. The system uses air pressure to force the dirty oil out of the drain. Usually there is a drain hose that is long enough to allow you to place it in the waste oil tank. You hook up air, open a valve and voila – drain with no pain! So why would anyone choose a non-pressurized gravity feed drain system? Cost, frequency of use, space, and less training needed for gravity-feed units. In the end, only you can make the right decision for your shop.