 Tire repair products just keep getting better and better. Did you know that aramid-reinforced radial tire repair units for radial OTR tires are five times stronger than steel? That’s what one maker of such patches claims. These patches are manufactured with fewer plies, yield greater strength, a more simplified installation and improved performance under the most extreme conditions. It’s not like the old days anymore.
Passenger tire repair units have also improved. One example is the patch/plug unit that does everything the RMA recommends with just one product.
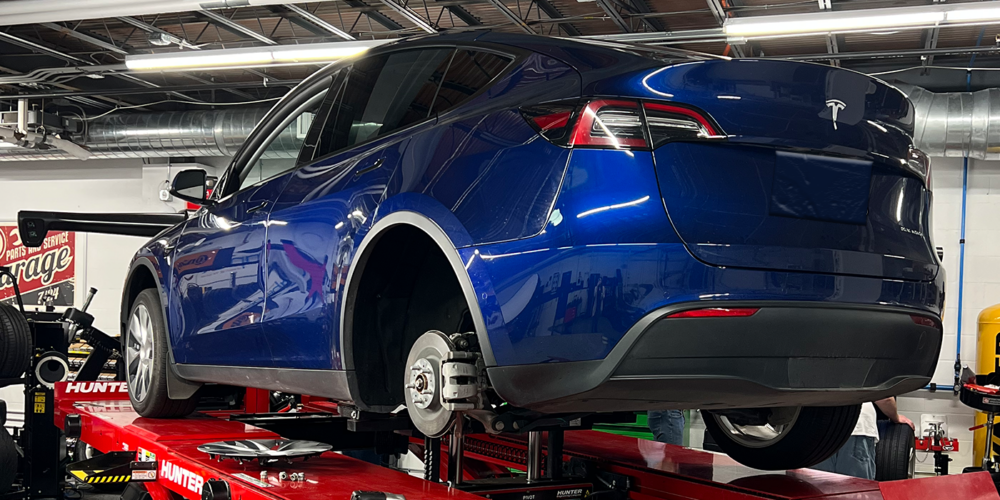
It’s something people don’t necessarily get overly excited about, but there have been many subtle changes in tire repair materials over the last several years.
To refresh everyone’s memory, here is a 10-point list of RMA guidelines for proper tire repair:
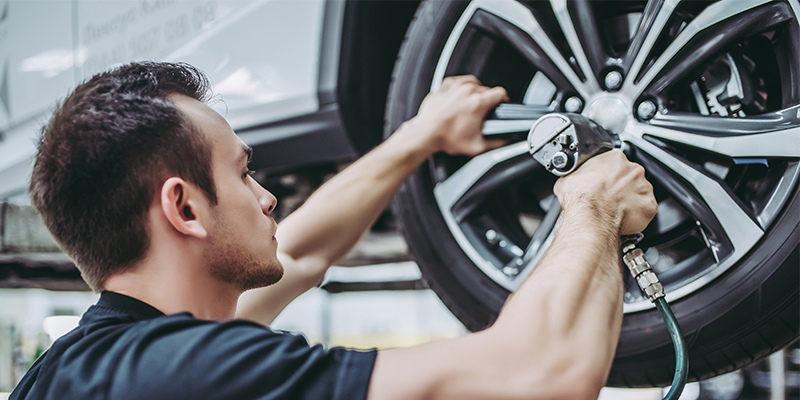
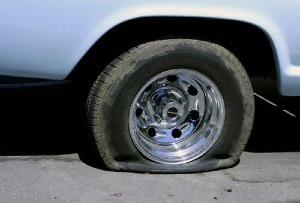
• External inspection prior to demounting is first. Check the tire surface and valve for the source of the leak, mark the injured area and deflate the tire. Only then do you remove the tire from the wheel.
• Internal inspection follows. Remove the puncturing object and probe the injury with a blunt awl to determine the extent and direction of the injury.
• Next, prepare the inner liner surface. Clean the area around the puncture with an inner liner cleaner. This step removes dirt and lubricants that may reduce repair and adhesion.
• Prepare the injury channel by using a drill with a proper size carbide cutter or other suitable tool. Ream the puncture channel a minimum of three times. Begin from the inside of the tire body, then repeat from the outside.
• Select the appropriate size repair unit, center the unit over the injury and outline the area with a crayon.
• Fill the injury by cementing the puncture channel according to the manufacturer’s recommendations. Completely fill the injury from the inside with a rubber stem, then cut the material off just above the inside tire surface.
• Buff the marked area thoroughly with a low speed buffer. Remove all rubber dust and clean the buffed area.
• Now apply chemical cement and allow it to dry according to manufacturer’s procedures.
• Be sure to remove the protective covering and install the two-piece unit so that it is centered over the injury, then stitch thoroughly, working from the center out.
• Last, inspect the repair thoroughly, making sure there is no leaking after the tire is remounted and inflated.