Filling the Void
Performing section repairs on agricultural tires – bias or radial ®“ is relatively simple. But because it’s a lengthy and painstaking process, there are many opportunities for error.
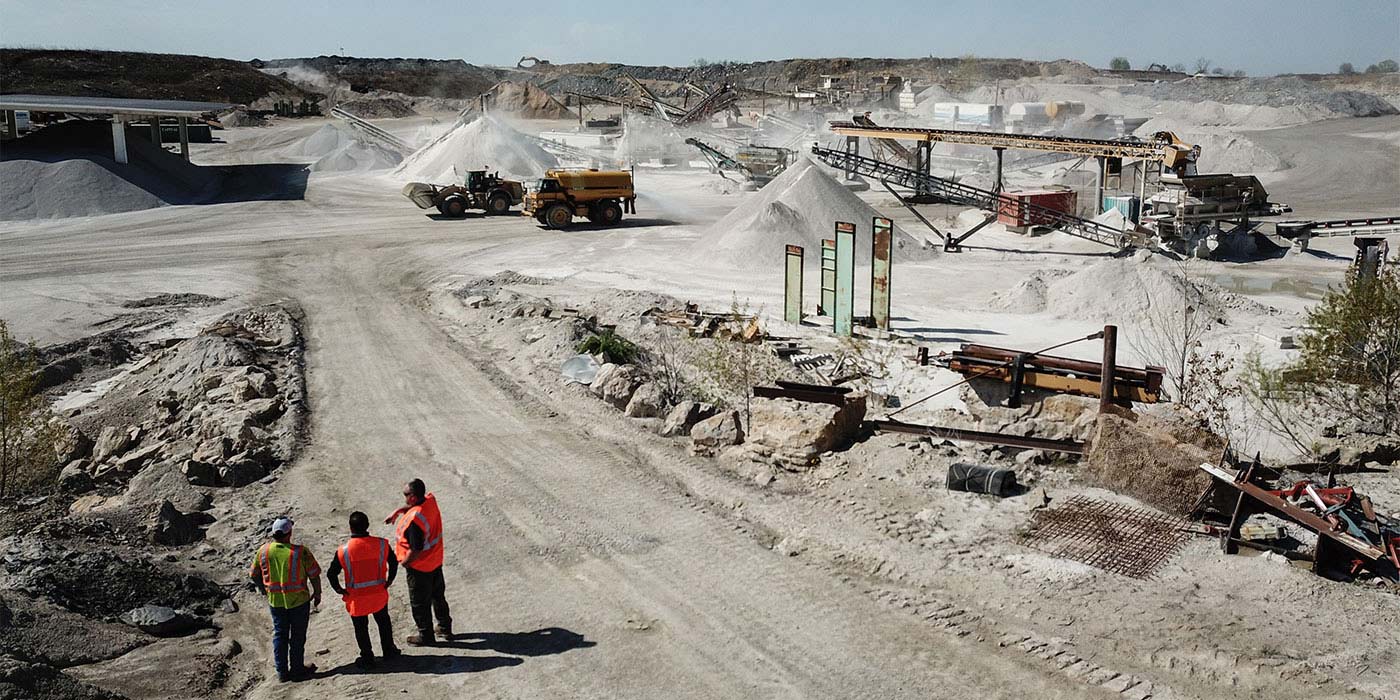
Ag tires, which include farm tractor and implement tires, logger and skidder units, and high flotation utility tires, are required to carry heavy loads while dispersing that weight over a large footprint, and maintain a high degree of traction on variable surfaces – often soft, wet and full of potential punctures.
There are four basic parts to any section repair: preparing the injury, filling the injury, curing the fill material and applying the repair unit. The same process is used whether the injury is in the tread area, the shoulder, or the sidewall.
First, the tire must be inspected carefully and completely, inside and out, and the tire technician must locate and mark all injuries and remove any foreign objects that remain in the tire.
Next, the technician must determine if the tire is, in fact, repairable. Based on industry standards, an ag tire cannot be repaired and should be scrapped if the injury falls within the non-repairable area of a tire, the tire shows signs of being run flat, there is any ply separation present that is beyond repairable limits, any bead damage is beyond repairable limits, weather checking or cracking has exposed some body cords, and/or other section repairs have been made in the same area of the tire.
If the injury can be repaired, the first step is to thoroughly clean out the jury, removing all loose or damaged material. A knife or cap cutter can be used to remove large portions of damaged rubber and trim back any damaged steel cables.
A carbide cutter should be used to trim back any damaged steel cables. On sidewall injuries, use a skiving knife to trim back body plies. All exposed fabric or steel cords must be trimmed back into solid rubber to assure a reliable bond and help prevent future moisture damage.
The interior of any skived out area should be buffed to a dull velvety texture using a low speed (2500 rpm maximum) buffer.
The injury should be prepared in the shape of a “Y,” with the outside area of the injury skived to about a 45Þ to 60 angle (to the centerline of the injury), tapering into a channel through to the innerliner side of the tire. The outside edges should be rounded slightly, and the outer surface of the injury area should be buffed about one-inch wider than the cavity to allow for overflow of fill material.
Select Right Repair Unit
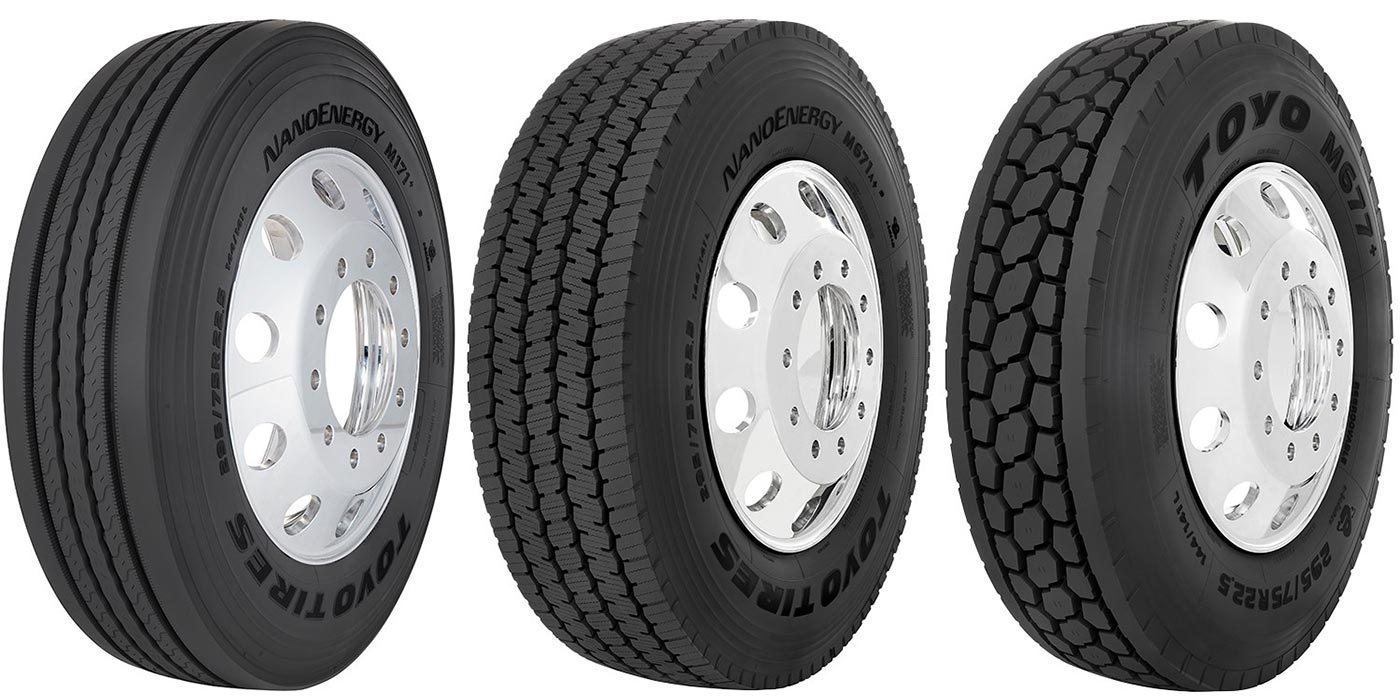
Measure the injury at the widest point of the opening in the body plies. With that measurement and the tire’s ply rating, use the repair supplier’s reference chart to select the appropriate repair unit (patch) for either a radial or bias ply tire.
Depending on what type of spot vulcanizer and repair process you’re using, apply the appropriate cement or vulcanizing solution. Make sure the entire injury is clean and free of loose debris before applying any cement or bonding solution. In general, make sure to thoroughly coat the entire injury area, inside and out, and extend the cement/-solution coating about 1/2-inch beyond the buffed area. Let the cement/solution dry about 15 minutes or until it’s slightly tacky.
The next step is to fill the injury with uncured rubber. You can either use strip stock and an extruder gun, or you can hand fill the injury with cushion gum. Either way, it is vital that the injury be completely filled, flush to the edge of the innerliner and about 1/4-inch above the exterior surface of the tire.
Then tightly stitch down the fill material, working from the center out to remove any trapped air in the fill rubber.
Finishing the Repair
Unless the tire under repaired is being retreaded at the time of repair, the fill material must be cured using an electric spot vulcanizer, with the repair unit being installed using a cold chemical vulcanizing cement. Because there are so many different spot vulcanizers on the market, we cannot go into details. However, it is important to carefully follow the spot vulcanizer manufacturer’s instructions.
Once the fill material is cured and cooled, make sure to carefully buff the exterior of the cured rubber flush with the rest of the tire. This not only helps improve the appearance of the repair, it helps prevent any pulling or ripping of the repair while the tire is in service.
Using an appropriate cleaning solution, go back and clean and scrape the innerliner. While the repair unit is still wrapped in its protective coating, place it over the injury, making sure to center it over the injury area and align it properly in relation to the beads according to the repair manufacturer’s instructions.
Using a marking crayon, outline the repair unit on the innerliner, making the outline about 1/2-inch wider than the repair unit. This establishes your buffing area. Make sure to mark index lines on both the repair unit and the innerliner – at all four sides ®“ extending at least 1.5 inches out on the innerliner. This will make it easier to replace the repair unit back over the injured area.
Using a low speed buffer, completely buff the area inside the repair unit outline to a dull, velvety texture. After buffing, make sure to use a brass bristle brush to clean the buffed area, and use a repair vacuum or other vacuum to clear away any buffing debris.
Install the repair unit using the repair unit manufacturer’s instructions. In general, most repair units are installed by first applying a thin coat of chemical vulcanizing solution, allowing it to dry about 5 to 10 minutes until it’s slightly tacky to the touch.
Be careful to not under- or over-cement the repair area. Over-cementing can lengthen drying time and could cause adhesion problems, while under-cementing will prevent a solid bond between the tire and the repair unit. Do not use blow dryers, fans, heat lamps or any artificial heat sources to speed drying times. This will only dry the outside surface of the cement, leaving damp cement below the flashed surface.
When the vulcanizing solution is dry, peel the protective backing from the repair unit back about one-inch from either side of the center. Be sure not to touch the exposed portion of the repair unit. With the tire in a relaxed state and using the index marks, apply the unit.
Firmly press down on the center of the repair unit, then slowly remove the remaining protective backing, pressing down firmly as each portion of the unit is exposed. Once in place, use a hand stitcher to stitch the repair unit in place, working from the center out.
Seal The Area
After the repair unit is completely stitched in place, finish the repair by applying a repair sealant. Make sure to coat all edges of the repair unit, cover all overbuff areas on the innerliner, and extend coverage at least 1/2-inch beyond any buffed area.
As you can see, section repairs to agricultural tires is relatively easy. The important thing is to properly clean and prepare the injured area, and closely follow all repair manufacturer’s instructions. If you don’t prepare the injury to accept the fill material and repair unit, the repair will likely fail.