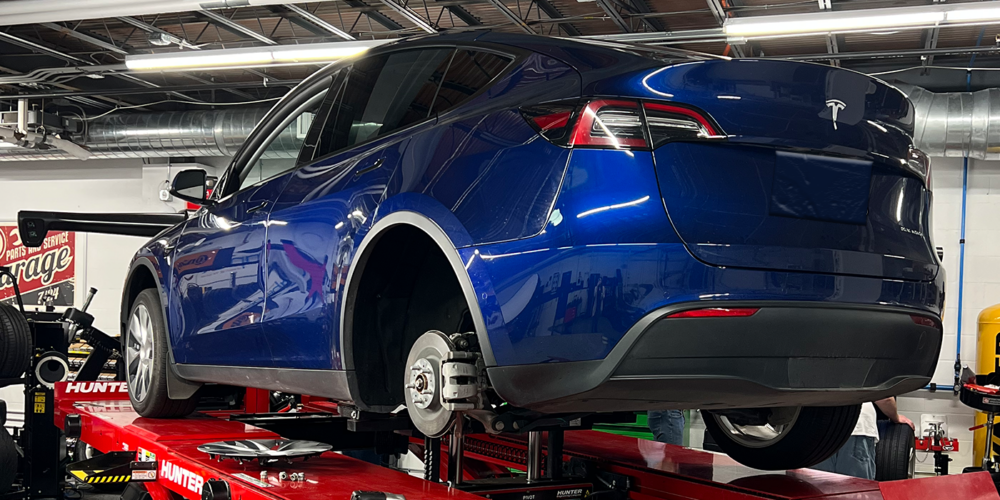
This article on wheel fitment and plus sizing is the sixth in a series on basic tasks performed in tire dealerships. The first in the series covered Basic Tire Repair (February 2012), the second addressed Tire Demounting and Mounting (May 2012), the third discussed Tire Rotation (August 2012), the fourth covered Tire/Wheel Balancing (November 2012), and the fifth looked at Tire/Wheel Alignment (March 2013).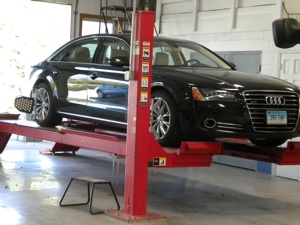
This installment reviews the basics of custom wheel selection and considering proper plus-sizing options. Even though the economic downturn was harsh to the custom wheel business, there are still a lot of drivers out there looking to customize their rides or make even a seemingly minor tire and wheel size change for aesthetic reasons.
There is nothing “minor” about changing tire and wheel sizes.
This article is intended not only for newly trained tire and service technicians, but also veterans who want to brush up on their techniques. Background information for this article was supplied by a variety of industry experts and groups, including former Tire Review columnist and performance tire/wheel expert Scott Blair.
One of the easiest and most effective ways for an owner to change the look and feel of a car, pickup or SUV is to change the wheels, and that often means changing the size. Whether a customer is looking to upsize to larger wheels for the performance benefits, downsize for winter tires, or just going for a unique look for his car, there are a number of details that a dealer, salesperson and tire tech must get right to ensure proper fitment and safety – and above all, to make the customer happy and keep him coming back.
According to Tire Rack, “An accurate fitment is the difference between good, better and best. Critical wheel dimensions such as width, diameter, offset, center bore, brake clearance, as well as load factor and lug hardware, are the basics when it comes to properly fitting aftermarket wheels.”
Upsize or Downsize
There are some very good reasons for either upsizing or downsizing tires/wheels, depending on what the customer is looking to achieve. Going to larger wheels up to 18 inches can positively affect things like cornering grip, braking performance, ride comfort and steering feel, while somewhat negatively impact acceleration and fuel economy due to the greater unsprung weight of larger wheels.
At 19 inches and larger, however, the positive handling and comfort effects start to go away, while acceleration and fuel economy get worse, so those really big wheels are best installed just for looks.
Downsizing, on the other hand, generally is a good idea for that extra set of wheels with winter tires on them. Smaller, narrower tires perform much better on snow and ice, and winter tires smaller than 17 inches are usually quite a bit less expensive.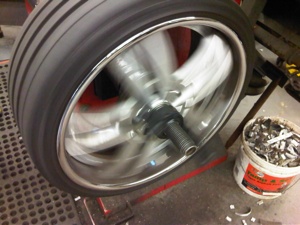
Keep in mind that when changing the diameter of the wheels, the width also usually changes, and this can cause problems if you’re not careful. In general, there will be at least a half-inch change in width for every inch change in diameter, so going up an inch from a 15×6 wheel to a 16-inch wheel will generally put you at 16×6.5. But if the new wheels are 16×7, that might be too wide to clear the suspension.
If you’re getting aftermarket wheels from an online distributor, they often will do most of the sizing calculations for you to prevent potential problems, but if you have to do it yourself, the folks at wheelsizecalculator.com can give you an incredible array of useful data for any make and model, including proper offset, hub diameter, bolt pattern and wheel width for each possible tire and wheel size.
Something to watch for, especially when downsizing, is the brake clearance on the vehicle. Some high performance cars have oversized brakes or aftermarket brake kits that will not accept smaller wheels. If you’re unsure of brake clearance, test-fit the wheels before mounting tires on them, so that the wheels can be returned if necessary.
You also will want to watch out for cars with staggered setups in which the rear wheels are wider than the fronts, mostly found on BMW and Mercedes models (unless you’re seeing a lot of super cars at your store). In terms of wheel fitment, you usually can put the width for the narrower front wheels on all four points if you absolutely have to, but you can’t ever put the wider rear wheel size on the front, or the wheels will rub.
Bolt Pattern
Getting the proper bolt pattern obviously is important when fitting new wheels, since if the pattern is wrong, you’re just not going to get very far in trying to install them. Most of the time, bolt patterns are pretty easy. Patterns are expressed by the number of bolts and the distance across the center of the pattern, either in inches or millimeters, as in 5×4.5 or 4x100mm.
Data generally can be found for the year, make and model of the customer’s car in the Tire Guide, the Hollander Book or in the vehicle owner’s manual. The wheel’s bolt pattern is usually embossed somewhere on the back of the wheel. Bolt pattern gauges also are available for when a wheel’s particular pattern is unknown.
There is, however, one thing that can trip up even experienced technicians – the difference between 5×4.5 and 5x115mm, or between 5×4.75 and 5x120mm. These patterns differ by less than a millimeter, little enough that one will generally fit on the other. But even while they will fit, they do not interchange.
Torquing the wrong pattern onto the car will usually bend the bolts just slightly and probably cause a vibration that can be very difficult to diagnose. Handy rule of thumb: BMWs, unless they are really old, are all 5x120mm, and no other car uses that pattern. Not so handy rule: 5×4.5 is usually on either American or Japanese nameplates; and 5x115mm is usually on either a European or Japanese marque.
Load Rating
Wheels have a maximum load rating, which is generally stamped on the back of the wheel or available in the wheel’s literature. To determine the proper load rating, check for the plaque usually mounted just inside the driver’s side door or on the fuel door. The car’s gross axle weight rating will be printed on the plaque. Divide the GAWR by two to determine each wheel position’s required weight rating.
Hub Center Bore
The hole in the center of the wheel where the center cap goes is the wheel’s hub center. OE wheels are designed so the hub center bore matches the diameter of the axle exactly to ensure a tight fit. This is critically important as it is this “hub-centric” connection that centers the wheel precisely on the rotor and, in most cases, actually carries the weight of the car, while the lug studs simply hold the wheel against the rotor plate.
Most aftermarket wheels are designed as “lug-centric,” meaning that the center bore usually will be slightly wider than the car’s hub. These wheels should be installed with centric rings, or “spacers,” that make up the difference between the wheel’s center bore and the vehicle’s hub.
There is a longstanding – and sometimes acrimonious – debate regarding whether installing lug-centric wheels without centric rings is acceptable. Tire Rack feels that lug-centric installations are fine, as long as the wheels are correctly centered, noting that, “With these [lug-centric] wheels it is critical to torque the lug hardware with the vehicle on jack stands, off the ground. This allows the nuts or bolts to center the wheel and torque down without the weight of the vehicle pushing them off center.”
I do not agree. While that technique will probably center correctly, I have personally seen innumerable lug-centric installations cause vibration, stud damage and even irreparable damage to the center bore caused by the hub jarring against it, because the studs are not strong enough by themselves to hold the wheel laterally against the weight of the car and deal with impacts.
This is obviously my own opinion based on my shop experiences, but I also would suggest there is no real advantage to taking the risk of a lug-centric installation when spacers are extremely inexpensive and easy to install. I strongly advise using hub-centric rings whenever possible.
Offset and Backspacing
Offset is defined as the distance between the back of the wheel’s mounting plate and the centerline of the wheel, expressed in millimeters. Positive offset means that the mounting plate is in the front side of the wheel, toward the wheel face. Most OE wheels will have a positive offset.
Negative offset means that the plate is on the suspension side of the wheel; this most often is seen in extremely deep-dish aftermarket wheels. Thus, offset determines how the wheel sits in the wheel well, and how much of the wheel’s barrel extends toward the suspension components.
When interchanging wheels of the same width, the offset should be as close to the original as possible to avoid having the wheel rub against the suspension. My rule of thumb has always been within 5mm either way.
Backspacing, on the other hand, while often used interchangeably with offset, is defined as the distance between the mounting plate and the rear flange of the wheel. Backspacing is therefore partly dependent on the wheel’s width, whereas offset is not.
When interchanging wheels that are different widths, one should calculate the proper backspacing rather than offset to ensure proper fitment. There are several excellent backspacing calculators available on the web to make that job easier. The best one that I have seen is at 1010tires.com.
Fasteners
It’s also important to ensure that you have the right fasteners – lug nuts or lug bolts – for the replacement wheels. Lug hardware comes in several different shapes, which must be matched to the lug holes on the wheel:
• Conical – A 60-degree tapered cone is the most common style.
• Flat – These lugs have a short barrel designed to fit into the lug hole itself, while the flat shoulders mate to the flat surface around the hole. Some flat lugs will have a separate washer around the barrel instead of an integrated shoulder.
• Ball – These lugs have a round shape rather than a tapered cone, and are common on most Mercedes, Audi, VW and many Honda vehicles.
• Tuner – Some aftermarket wheels come with very small lug holes, requiring extremely narrow lugs called “tuner lugs.” Rather than having a hex shape to accept a ratchet head, these lugs have many narrow grooves on the head, called a spline drive, which accept a special low-profile key that can fit into the lug holes.
Old-style tuner lugs known as “socket lugs” used a hex-shaped key that would be inserted into the inside of the lug. This poor design led to rounded off keys and lugs rusted to the lug studs, since the bolt threads were left open to the elements. Remove and replace any of these that are still found on vehicles and upgrade to spline drive lugs.
In addition, installers should make sure that if lug bolts are to be used, they are the proper length, as the original hardware may not insert to the proper depth into the rotor plate with an aftermarket wheel. If new hardware is necessary, the customer should always keep the old hardware in case it is needed to install an OE spare.
Tire Sizing
Finally, when the wheels are properly fitted, it’s time to get the right size tires on them. This is an important and somewhat tricky process called plus sizing.
The odometer and speedometer settings of all consumer vehicles are set in terms of the overall diameter of the wheel and tire assembly, also known as the “standing height,” so when upsizing or downsizing the wheels, an installer must match the standing height of the new tire and wheel assembly to the standing height of the old one, and also must match the width of the tire to the wider wheel. The industry standard is to maintain +/- 3% of the OE tire height when replacing the tires.
To explain this, I’ll start with a basic 185/65R15 tire size. 185 is the section width of the tire expressed in millimeters. The 65 is the aspect ratio of the tire, meaning that the aspect height of the sidewall is 65% of the 185mm width, or 120.25mm. The 15 is the wheel diameter of the tire in inches (bead to bead), which corresponds to the outside diameter of the wheel.
So, for example, if you are upsizing from a set of 15×6 wheels with 185/65R15 tires to 16×6.5 wheels, the new tire must lose an inch in aspect height to keep the same overall diameter, and gain about half an inch in width. That means the new tire would have to be 195/55R16.
This is called a “plus one” sizing. Going the other way from 16 inches to 15 inches would be a “minus one” sizing.
Got a headache yet? Don’t worry. You really don’t want to do the math for this every time you try to size a tire, and you don’t have to. Numerous calculators exist to do that for you.
My favorite is the one at miata.net, which lets you plug in tire sizes and gives you the difference in overall diameter as a percentage, (again, less than 3% is best) as well as showing what the speedometer differential would be and giving you a handy graphic to visualize the difference between the sizes.
Always Use (Torque) Protection
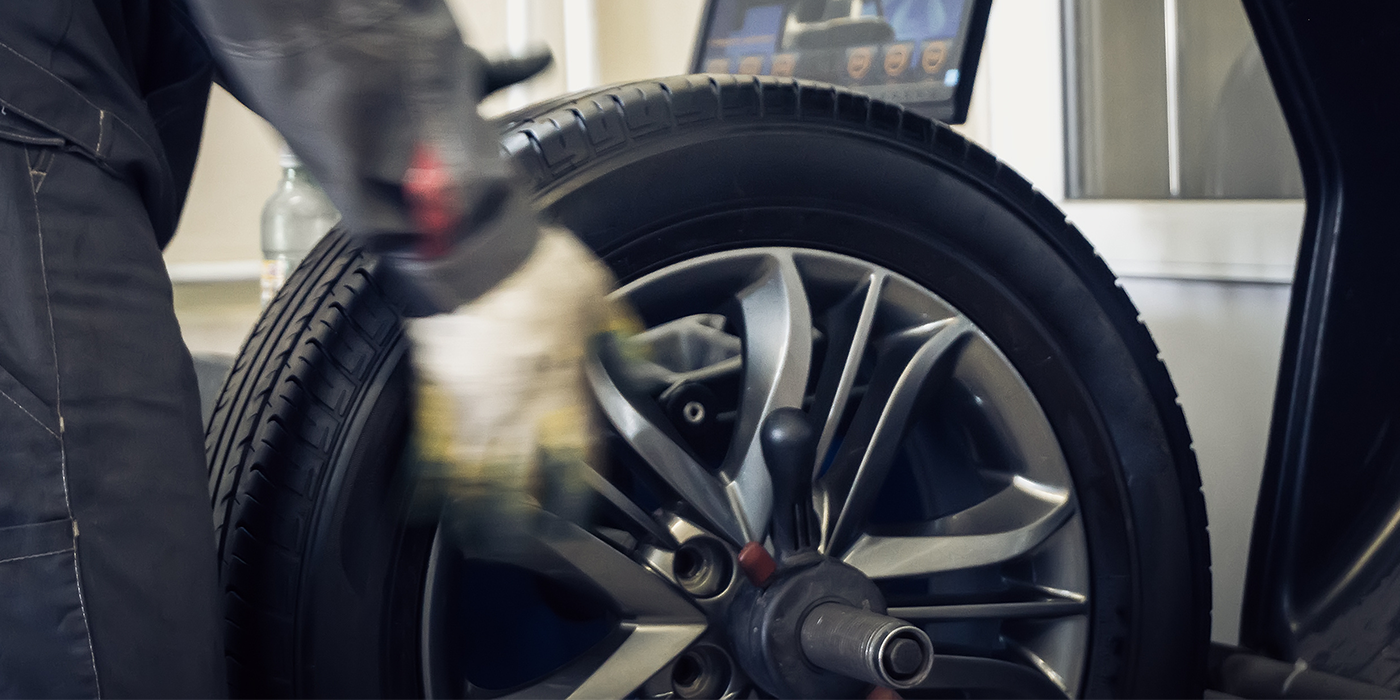
Always use torque sticks on your air tools, and use a well-calibrated hand torque wrench to finish the job on any expensive wheels, spline drive tuner lugs or any lug hardware that looks hinky. Never use torque sticks to remove lug hardware.
Every so often, I hear from a technician who insists he can achieve proper torque by “feathering the trigger” of an impact wrench. I laugh sadly, because I am convinced this is the reason I used to get so many customers with wildly overtorqued lug hardware or worse, a lug bolt that had been cross-threaded and blindly driven in anyway. Use the right torque tools for the job.
Disclaimer
Changing the dimensions of vehicle tires and wheels from OE dimensions is serious business. The preceding article was researched and written using material furnished by industry sources, including tire dealers, Scott Blair, the Tire Rack, and other resources. This information is not meant as a substitute for proper training by tire and wheel companies, TIA or torque tool providers. Recommendations made here are consistent with the basic practices used in the industry. This article is meant purely for educational purposes and those who use the methods recommended are solely responsible for any injuries or losses resulting from their application.