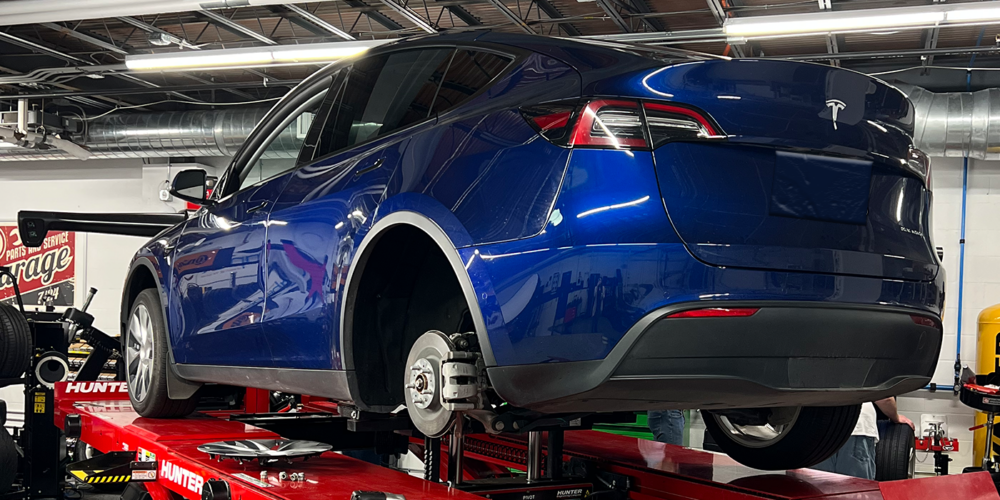
Even with zero moving parts, the common replacement brake pad is one of the most difficult components on a vehicle to engineer and manufacture. From the initial design to the final packaging, here’s a look at what it takes to make a brake pad.
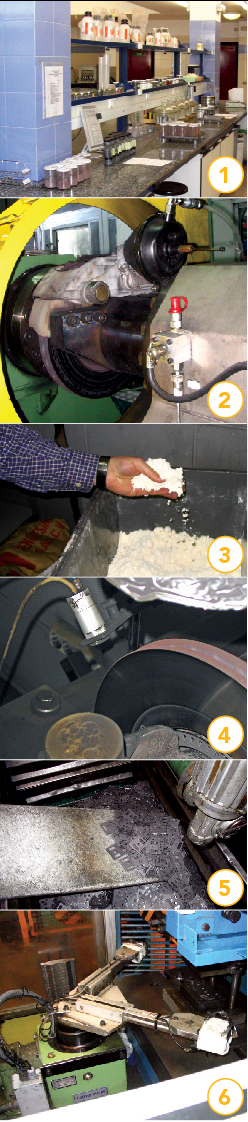 1. The birth of a brake pad starts here in the lab. In some cases, the manufacturer will look at the original formulation as a starting point for development. Also, at this phase they will look at the design of the backing plate.
2. The brake dynamometer is a critical component of the development process. Before an application makes it into a catalog, it will spend many hours on a dyno to verify its performance.
3. During the development process, the engineers will look at many raw materials from several suppliers. Every component and its quantity in the formulation can influence the performance of a pad. The engineer formulating the mix will look for the right balance of characteristics for wear, noise and braking performance. They will make their decision based factors such as performance, manufacturability and cost.
4. In the latter stages of development, the engineers will start to tweak the friction material and pad design for the best NVH performance on the dynamometer. This may involve adding chamfers and slots.
5. One of the first stages of manufacturing is the stamping of the backing plate. Large coils of steel are used, and as much as 50% of the steel coil ends up as scrap that is recycled. The steel is oiled and pickled to prevent corrosion.
6. When the plate is stamped, it may have to go through several processes to make sure the dimensions are correct.
 7. Special features like pins, friction material retention devices and other hardware are machined after the plate is stamped. Also, surfaces that make contact with the caliper bracket are set to their final dimensions to ensure the installed pad fits properly.
8. The backing plate is media blasted and washed to remove any burs, imperfections and oil from the stamping process. If any oil remains on the plate, it will cause problems when it comes to bonding the friction material.
9. The backing plate emerges from the media blasting and washing with a surface that is primed for adhesives. The media blasting also helps to increase surface area for the adhesive.
10. On most pads, adhesive glue is sprayed onto the backing plates. This glue helps to bond the friction material to the plate, but if the pad uses a mechanical attachment method, this step might not be necessary.
11. This is the station where the components of the friction material are measured out and mixed. The operator will measure precise amounts of the components onto a scale.
12. The precisely measured components are then placed in a special mixer. The mixer makes sure the mix is homogenous.
13. The mixture is then molded into “pre-molds.” These “pucks” will be pressed and molded onto the backing plates.
14. This image shows a stack of the pre-molded friction pucks ready for final molding. This 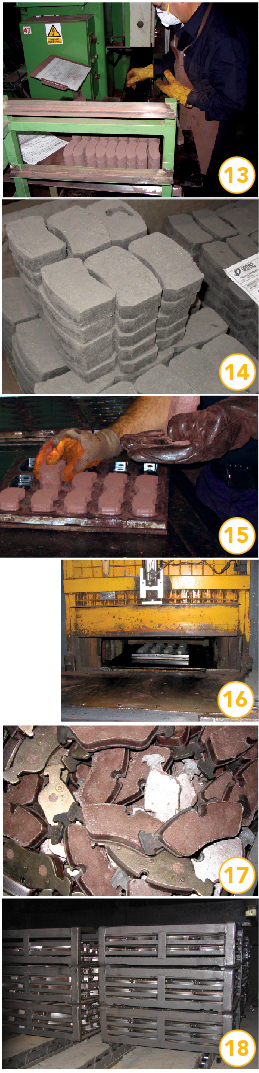 formulation is a semi-metallic.
15. The backing plates are placed in a mold with the friction material on top. The friction material here is an organic formulation.
16. In press, the friction material is molded to the backing plate with pressure and heat. Some of the friction material is forced through the holes in the backing plate to increase retention. This is called “integral molding,” or IM for short. IM is only one method for attaching the friction material.
17. This is the final product of the process, but it is just the starting point for other procedures.
18. The brake pads will be placed in an oven to cure. The heat will activate and solidify resins, binders and other ingredients. This means consistent performance over the lifetime of the pad.
19. Now the manufacturer will cut chamfers and slots into the pads. Also, the pad will be ground to the correct height.
20. Here is the before and after of the grinding process.
21. Some manufacturers will scorch their pads. This involves extreme heat and pressure. This will help to give the initial 1mm to 2mm of material on the pad’s face an increased ability to bed and transfer a layer of friction material to the rotor. This means less time is needed for test-driving the vehicle.
22. During the scorching process, the pad will emit gases. You might smell these gases if you manage to overheat a set of brakes. At this plant, the gases are burned until they are harmless.
23. At this point, the naked pad is prone to corrosion. Some pads will have a coating applied to prevent corrosion. The coating can be a high-temperature paint or a powder coating that is baked on. Some pads will use plating on the backing plate that does not require paint.
24. Here, an engineer is testing the pad’s hot and cold compressibility. Before a batch of pads is painted, labeled and shipped, the manufacturer will test random samples for quality control.
With the brake pads tested and shipped, the finished product is ready to make its way into your shop and onto the vehicles you repair.