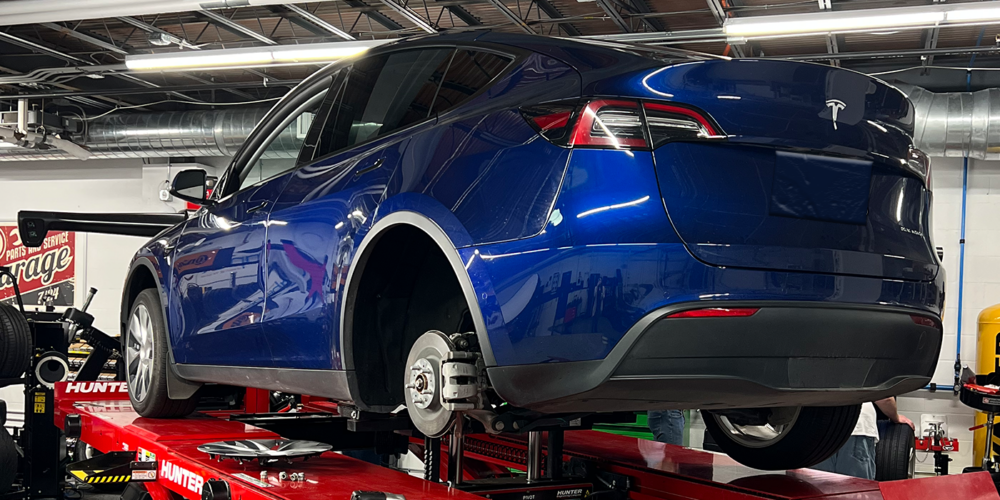
 The ASE G1 Certification test contains 55 scored questions, plus 10 unscored research questions, that cover a range of skills and knowledge related to maintenance and light repairs in engine systems, automatic transmission/transaxle, manual drivetrain and axles, suspension and steering, brakes, electrical, and heating and air conditioning.
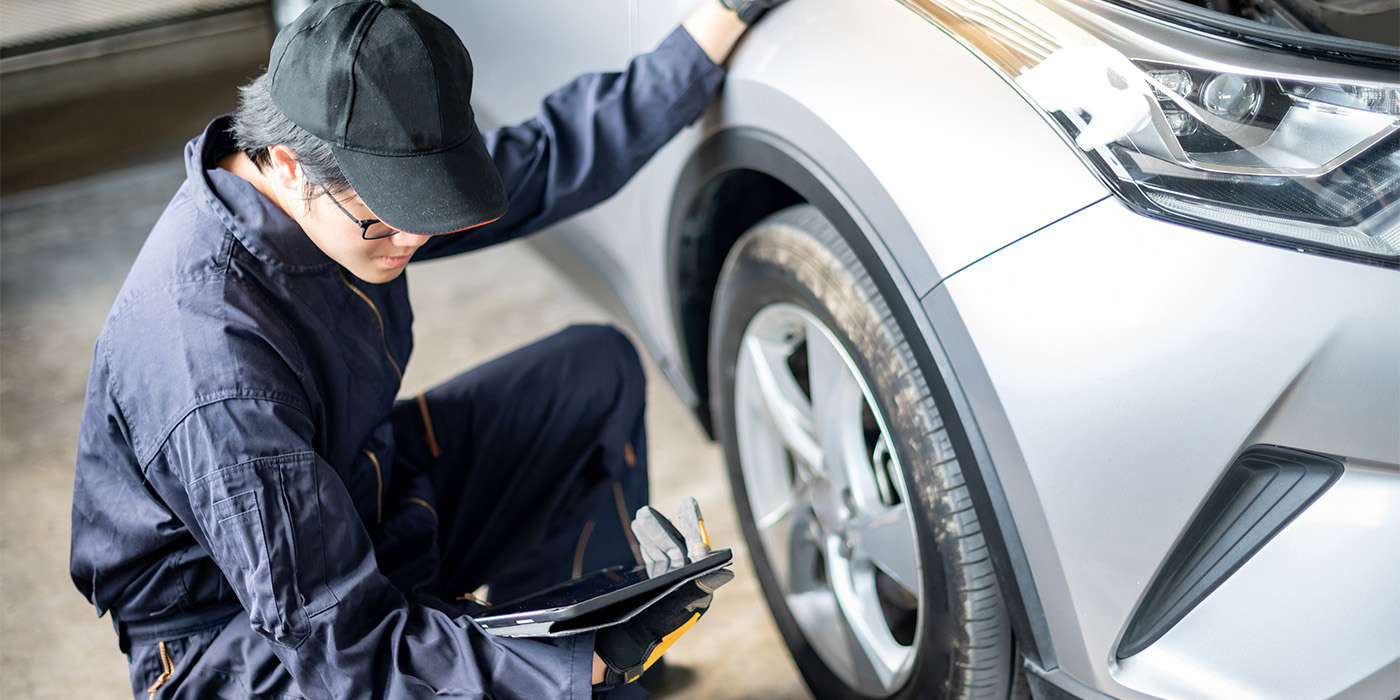
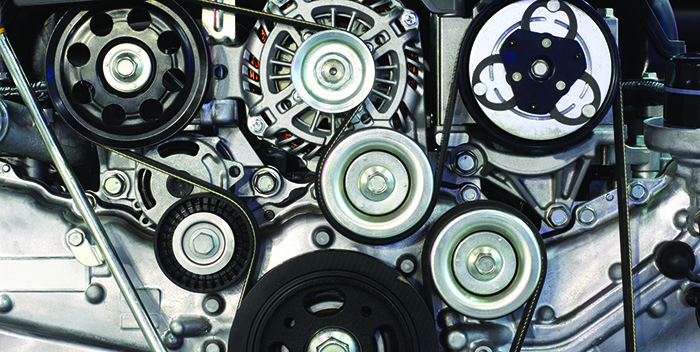
As part of the engine systems portion, you must know how to inspect, replace and adjust drive belt(s), tensioner(s), and pulleys.
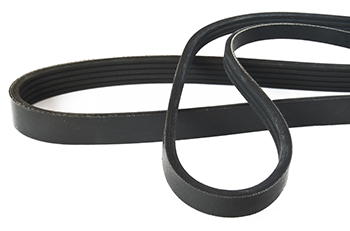
Belt Wear Inspection
Mileage is a big factor in belt wear, but so is general age, regardless of use. Modern belts, made of the durable synthetic rubber known as ethylene propylene diene monomer (EPDM), last much longer than older neoprene belts, but they do still get old, wear down and lose performance.
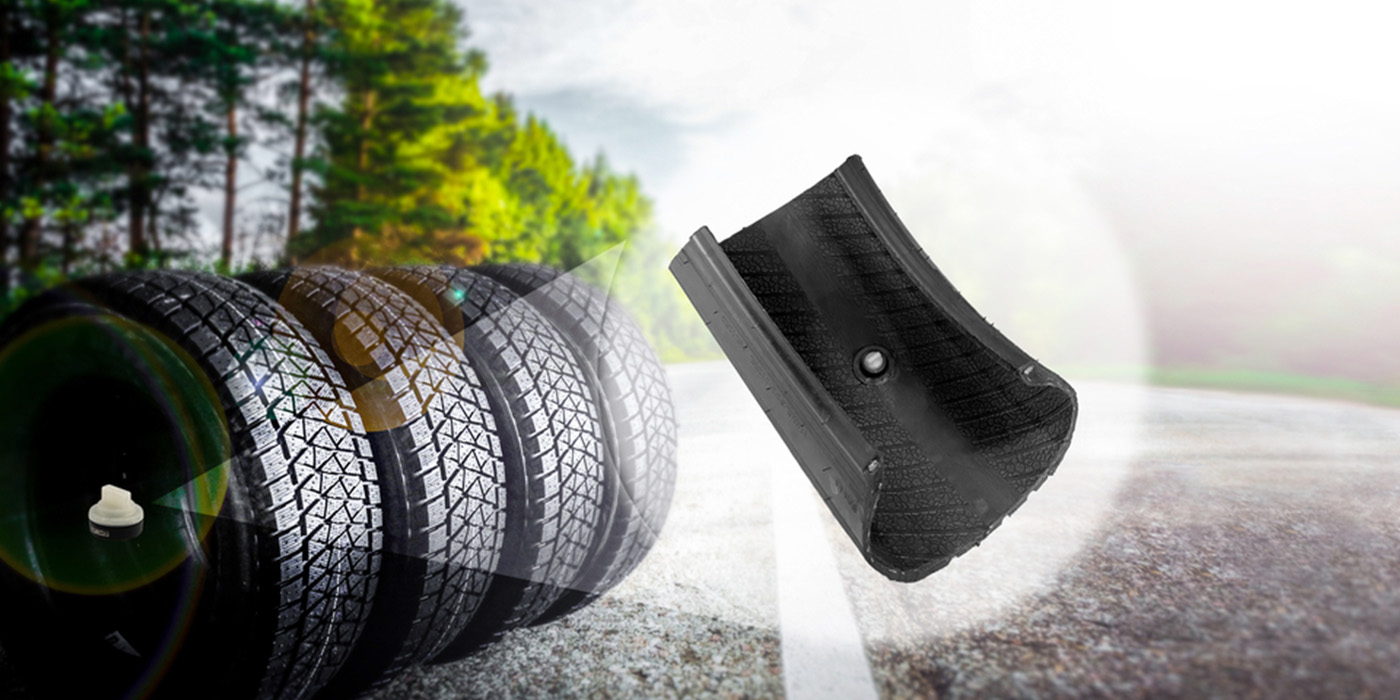
Neoprene belts should be replaced if there are three cracks in a three-inch section, but EPDM belts resist cracking because of their increased elasticity. This is why a visual check for cracks isn’t the best indicator of true belt wear. EPDM belts can run 100,000 miles or beyond with no visual cracks. A far better indicator of wear on EPDM belts is material loss. Serpentine belt drives are exposed to grit, rocks, salt and water, and, over time, these contaminants along with slight misalignments result in wear of the rubber rib surface.
A belt is like a tire in that over time its tread will wear down, which will reduce its performance. As a belt’s ribs start to wear and flatten, a belt starts to lose its ability to grip or function properly, causing it to slip, which puts a strain on other components within the engine. As little as 5% rib material loss and surface wear can affect how the belt performs, and just 10% belt slippage can affect the overall driveability of a vehicle.
In terms of vehicle performance, a persistent check engine light, reduced engine cooling, inconsistent power steering performance or poor A/C system performance are all signs of belt slip caused by wear.
Another problem associated with material loss is how the belt fits around the pulley. Belts are designed to allow clearance between itself and the pulley. Losing this material widens the space between ribs and erodes this clearance. Without that clearance, water and debris lose a path through the system, and can result in hydroplaning.
- Look for a glazed or slick appearance — this is a sign that the belt has aged, is slipping or chirping, or will start to slip or chirp. A slick belt is the first step to cracking and overheating.
- Going beyond a visual inspection, try pinching, squeezing and twisting the belts, and then look for any cracks, fraying, splits or brittle areas.
- On a serpentine belt, look for missing grooves or places where the belt’s layers have separated.
- Look for a buildup of rubber deposits, as well as worn spots that could catch the belt and cause it to break.
- Also check the belt’s alignment on the pulleys. They should line up straight on the pulleys.
Belt Tensioners
Belt noise or premature wear on the belts in some vehicles is often the result of a bad automatic tensioner. When a serpentine belt is noisy, slipping or fluttering, be sure to check the tensioner.
But these days, there might not be a tensioner. Today’s stretch belts have special polyamide tension cords inside that allow them to stretch to maintain tension without the need for a tensioner. An ordinary serpentine belt and a stretch belt are not interchangeable. Attempting to stretch an ordinary serpentine belt over a pulley can damage the cords inside it and cause the belt to fail. Installation of a stretch belt requires a special tool to extend it over the final pulley.
Overrunning Pulleys and Decouplers
To further reduce stress on drive belts and other accessory components, OEs started to incorporate overrunning alternator pulleys (OAP) and decouplers (OAD), moving away from the standard one-piece alternator pulley. OAPs and OADs allow belts to “overrun” and, therefore, they absorb the damaging vibrations of drive system operation instead of the belts and attached components.
When OAPs or OADs are compromised, they can no longer absorb the same level of abuse, which has a trickle down effect throughout the system. Belts and tensioners are then much more likely to overstress and fail.
OAPs and OADs should be inspected every 10,000 miles for wear. Early design versions have provided service life of 40,000 to 60,000 miles, with more recent versions lasting more than 100,000 miles. Also, note that OAPs and OADs are not interchangeable and must be replaced with the same type of pulley or decoupler.
When looking for OAP and OAD failure, be sure to look at the bearings, clutch assembly and the internal spring of the decoupler:
- After shutting down the engine, if there is an audible buzzing, then the bearings in the pulley have likely failed.
- The OAD or OAP should spin freely in one direction and engage the alternator in the other direction. If it spins freely in both directions, then the clutch assembly has failed. In addition, if the OAD or OAP does not spin freely in either direction, its internal spring has locked up, which, in turn, will cause increased tensioner movement or belt span vibration.
In any of the above scenarios, the OAP or OAD needs to be replaced.
Replacing Drive Belts
Never force or pry a belt over pulley flanges. If the belt cannot be run into the grooves by rotating the pulley, move the belt-driven accessory to obtain closer centers. With the belt removed, examine the pulleys for damage and misalignment. Replace pulleys as required and install the new belt.
A new drive belt should also be installed when a high-mileage water pump is replaced. Chances are the old belt will have a lot of miles on it and will be badly worn, glazed or contaminated with oil, grease or PS fluid that leaked out of the old pump. The automatic belt tensioner also should be carefully inspected and replaced if it is sticking, rusty, wobbling, noisy or can’t maintain proper belt tension. n